
Eight steps to optimise your outdoor space this year

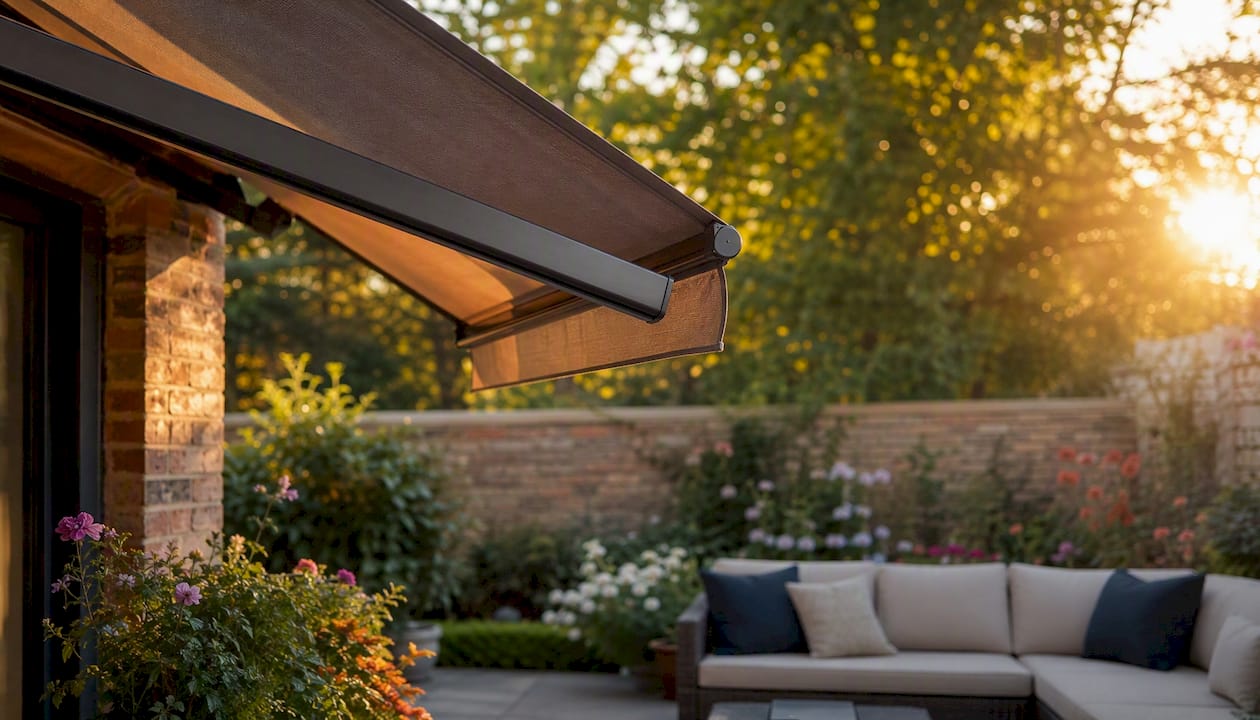
Get an outdoor space that actually works by following eight steps in order: assess the site, define zones, fix drainage and groundworks, sort the layout, choose weatherproof materials, add shelter and screening, plant to the microclimate, then layer lighting and heating.
Site assessment (sun, wind, soil, drainage)
Purpose and zoning
Groundworks and drainage
Layout and circulation
Materials and surfaces
Shelter and screening
Planting and soil prep
Lighting, heating and maintenance phasing
Pro Tip: If budget is tight, spend it on drainage and groundworks first. Everything you build on top of a badly sloped or unstable base will fail faster and cost more to fix later.
Key Takeaways
Groundworks and drainage determine the lifespan of every surface and structure built on top of them, so they must be finished before any shelter, planting or lighting work begins.
Point | Details |
Assess before designing | Test soil, pH and drainage, and photograph sun exposure at three points in the day. |
Fix drainage first | Specify exact gradients to contractors in writing; falls of around 1:80 direct water to soakaways. |
Zone around three functions | Dining, lounging and growing cover most gardens without cramping any single zone. |
Choose materials for winter | Low-porosity paving under 0.5% water absorption resists frost cracking far better than porous stone. |
Phase spending sensibly | Groundworks typically absorb the largest share of budget, even though they’re invisible once finished. |
Get shelter installed properly | Infinityawnings supplies and installs pergolas and awnings across Yorkshire and surrounding counties, coordinated with doors and drainage. |
Table of Contents
Step 1: how do you assess your outdoor space before starting?
Step 3: why do groundworks and drainage decide everything else?
Step 6: how do you extend the season with shelter and shading?
Step 7: how do you match planting to your garden’s microclimate?
Step 8: what lighting and heating layers make a garden usable year-round?
Step 1: how do you assess your outdoor space before starting?
Walk the garden at three points in a single day and photograph the shadows each time. Sun-path mapping this way, alongside a soil check and a drainage test after rain, tells you far more than staring out the window on a nice afternoon. Assess the garden before planning by testing soil type and pH, tracking sun at different times, and watching how water behaves after a downpour.
Dig a spade-depth hole and squeeze the soil: it should crumble, not smear like clay or run through your fingers like sand.
Use a cheap pH testing kit on two or three spots.
Pour a bucket of water on the proposed patio area and time how long it takes to disappear.
Photograph shade at 9am, 1pm and 5pm to map real sun exposure, not guessed exposure.
Pro Tip: Sketch the garden to scale on graph paper (1 square = 0.5m works well) before you commit to any layout. It exposes cramped paths and undersized patios long before a contractor turns up.
Step 2: what should you prioritise when zoning a garden?
Pick three functions, no more. Dining, lounging and growing cover most households; adding a fourth (utility, play, work) usually means shrinking the others past the point of comfort. Zoning a garden into distinct areas works best when material changes, level shifts or planting define the boundaries rather than fences or walls.
Rules of thumb worth sticking to:
A dining zone for four needs roughly 3m x 3m to fit a table, chairs and walking space around them.
Paths should be at least 900mm wide for one person, 1.2m if two people need to pass.
Keep growing zones in the sunniest quarter of the garden, identified from your Step 1 photos.
Mark each zone on your scale sketch before ordering materials.
Test the layout with rope or canes on the ground for a weekend before finalising it.
Step 3: why do groundworks and drainage decide everything else?
Get this wrong and every surface above it eventually cracks, pools or shifts. Every hard surface needs a professional gradient directing rainwater away towards a soakaway, not towards the house or a neighbouring boundary. A typical patio fall sits around 1:80, sloped away from any building.
Soakaways make sense where the soil drains reasonably well and there’s space for a pit of rubble or a proprietary crate system away from foundations. Permeable paving is worth considering where space is tight or the soil is heavy clay, since it lets water pass through the surface itself rather than relying entirely on falls.
Checklist before any hardscaping starts:
Confirm the fall direction and gradient with whoever is laying the surface, in writing.
Ask what sub-base depth they’re using and why (it varies by soil type and surface load).
Check where the water actually goes once it leaves the paved area.
Pro Tip: Tell your contractor the exact gradient you want in millimetres per metre, not just “sloped away from the house.” Vague instructions get vague results.
Step 4: how do you plan layout and circulation properly?
A garden that looks fine on paper can still feel cramped underfoot if circulation is an afterthought. Keep a clear route of at least 900mm through every zone, and widen that to 1.2m anywhere two people are likely to need to pass, such as beside a dining table or a barbecue station.
Coordinate thresholds with the house: a stacking or bifold door needs enough clearance in front of it for the doors to swing or slide fully open.
Match floor levels either side of a threshold where possible; a single step is a common trip hazard and a drainage headache.
Leave furniture clearance of at least 600mm behind every chair so people can push back from the table without hitting a wall or planter.
Pro Tip: Chalk out furniture footprints directly on the patio base before laying the final surface. It’s the cheapest design change you’ll ever make.
Step 5: which materials survive a British winter best?
Material choice decides whether your patio still looks good in five years or needs replacing after two wet winters. Low-porosity materials with strong frost-resistant finishes hold up far better against freeze-thaw damage than budget porous stone.
Low-porosity porcelain or granite paving: barely absorbs water, so it resists frost cracking; higher upfront cost, minimal ongoing maintenance.
Frost-resistant block paving: cheaper and easier to repair section by section, but joints need occasional weeding and re-sanding.
Composite decking: no rotting or splintering, but can get slippery when wet and needs a textured or grooved finish for grip.
Testing paving samples for porosity is worth the effort: ratings under 0.5% water absorption perform noticeably better through repeated wet and freezing cycles. Whatever you choose, movement joints and correct falls matter more to longevity than the material itself.
Step 6: how do you extend the season with shelter and shading?
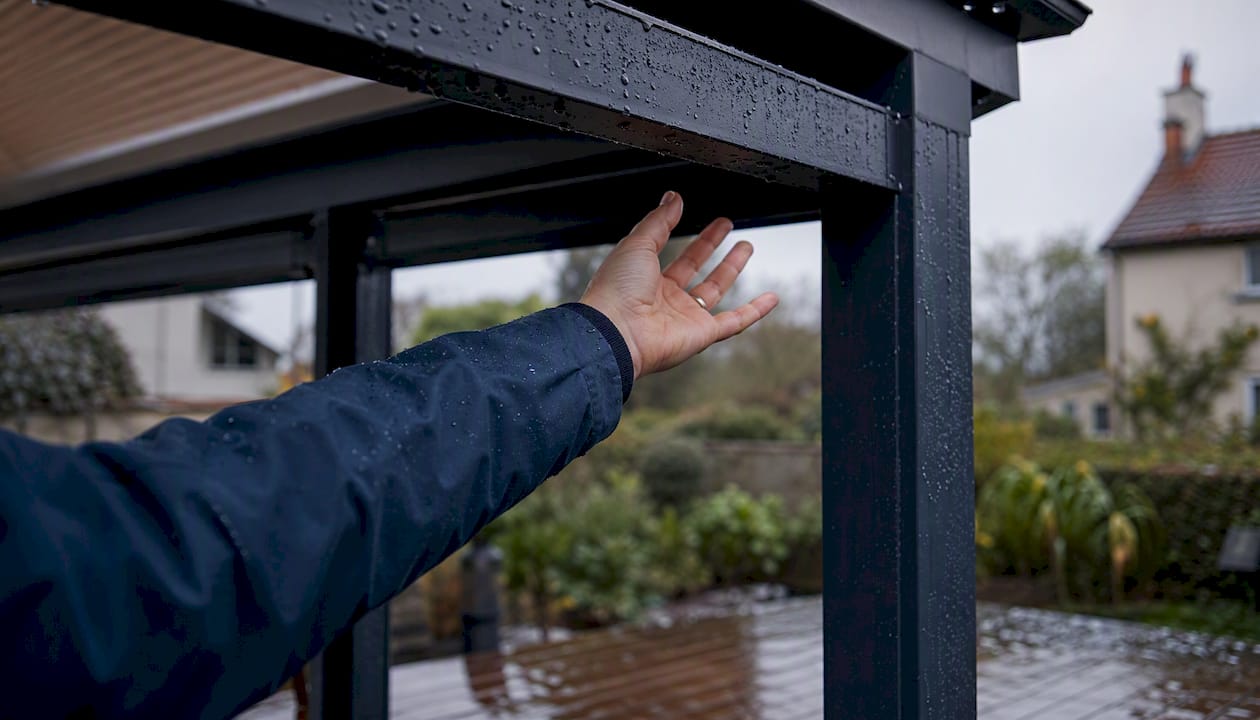
A garden only earns its keep if you can actually sit in it outside three months of the year. Outdoor living spaces function like an extra room and need shelter, airflow and robust thresholds, not just decorative planting.
Pergola: strong structural presence, good for climbing plants and partial shade, often the base for retractable canopies.
Retractable awning: flexible shade that folds away when you want full sun or need to clear snow load in winter.
Fixed canopy or made-to-measure screens: solid year-round shelter, useful where wind is the bigger problem rather than sun.
Coordinate any of these with existing doors, lintels and drainage before installation. Power points for lighting or heating need planning in at the same stage, not bolted on afterwards. Controlled ventilation with pollen-filter mesh reduces midge and pollen ingress and helps stop covered areas overheating during a heatwave.
Pro Tip: Stand under your proposed shelter location on a grey, drizzly day, not just a sunny one. It reveals draughts and cold pockets a sunny-day visit will never show you.
Step 7: how do you match planting to your garden’s microclimate?
Planting only works if it follows the sun-path and soil data you gathered in Step 1, not the other way round. Structure plants for winter interest belong in the framework of the garden, with vegetables sited in the sunniest, most accessible zones you mapped earlier.
Plant evergreen structure first (box, yew, hebe) so the garden holds shape through winter.
Add seasonal colour around that structure rather than as the main event.
Site edible beds in the full-sun zone identified from your photo survey, ideally close to the kitchen door.
Amend heavy clay with grit and organic matter; amend sandy soil with compost to improve moisture retention.
Use containers or vertical planters where soil quality is poor or space is limited, particularly on balconies and small patios.
Step 8: what lighting and heating layers make a garden usable year-round?
Layer lighting the way you would indoors: ambient light for general use, task light for steps and cooking areas, and accent light for planting or a feature wall. A single floodlight rarely does the job well.
Electric heaters are simple to install near existing power and cheap to run for short bursts, but they cool the moment you switch them off. Fire features hold heat longer and add atmosphere, though they need clearance from any fabric shelter and should never sit directly under a retractable canopy. Pairing shading with heating extends usable time in both directions, by blocking wind as well as sun.
Position task lighting on steps, thresholds and cooking zones first.
Add accent lighting last, once the main layout is finished.
Use timers or dusk sensors to avoid running heaters or lights longer than needed.
Step 9: how do you phase the work and control the budget?
Sequence work so nothing gets ripped up twice. Fix access, paths and the main patio before decorative corners, since these are the hardest and most expensive elements to redo once finished.
Phase one: groundworks, drainage falls, soakaways.
Phase two: hardscape surfaces, thresholds, patio.
Phase three: shelter, screening, power and lighting.
Phase four: planting and soft finishing touches.
Groundworks and drainage typically absorb the largest share of any budget, even though they’re invisible once finished. It’s tempting to cut corners here and spend more on visible finishes, but that trade rarely pays off. Maintenance by season is simple: check gutters and falls in autumn, prune structure plants in late winter, and inspect fabric shelters and awning mechanisms each spring before the season starts.
Printable checklist: what to survey, plan and quote
Photograph sun exposure at three times of day.
Test soil and drainage after rain.
Sketch zones to scale and mark circulation widths.
Confirm drainage falls and sub-base with your contractor in writing.
Choose materials rated for freeze-thaw resistance.
Book shelter or screening installation around door and drainage details.
Plant to match recorded sun and soil data.
Add lighting and heating layers last.
Hand this list to any contractor alongside your scale sketch and measurements; it saves a second site visit and gets you a more accurate quote.
How do you find a reliable contractor for outdoor projects?
Ask for evidence of past groundworks, not just finished photos. Anyone can show you a beautiful patio; fewer can show you the drainage plan underneath it. A contractor confident in their falls and sub-base preparation will usually talk you through it unprompted.
Get at least two written quotes that specify the gradient, sub-base depth and drainage route, not just a total price. Vague quotes that skip these details are the ones most likely to result in a patio that pools water within a year. For dedicated hardscaping work such as patio laying, a specialist like LookDeVis handles groundworks and paving specifically, which is worth considering if your project is mostly hard landscaping rather than shelter and shading.
Check reviews for mentions of drainage problems or delays, not just finish quality. A contractor who returns to fix a pooling patio without argument is more valuable than one who never gets a bad review because nobody’s tested them on a wet January.
For shelter, screening or awning installation specifically, coordination with existing doors, lintels and power points matters more than general landscaping experience. A specialist who fits pergolas and awnings daily will spot clearance and drainage issues a general landscaper might miss, simply because they’ve seen the same mistakes repeated on other properties.
Always confirm who is responsible for building control sign-off if your project needs it, and get that written into the contract before work starts, not agreed verbally on site.
How sustainable are your material and plant choices?
Sustainability in outdoor design mostly comes down to two decisions: what you pave with, and what you plant. Permeable paving reduces surface run-off into drains, which matters more in urban gardens with heavy clay soil where standing water is already a problem. Reclaimed stone or brick cuts embedded carbon compared with new quarried material, though it needs more careful checking for consistent thickness before laying.
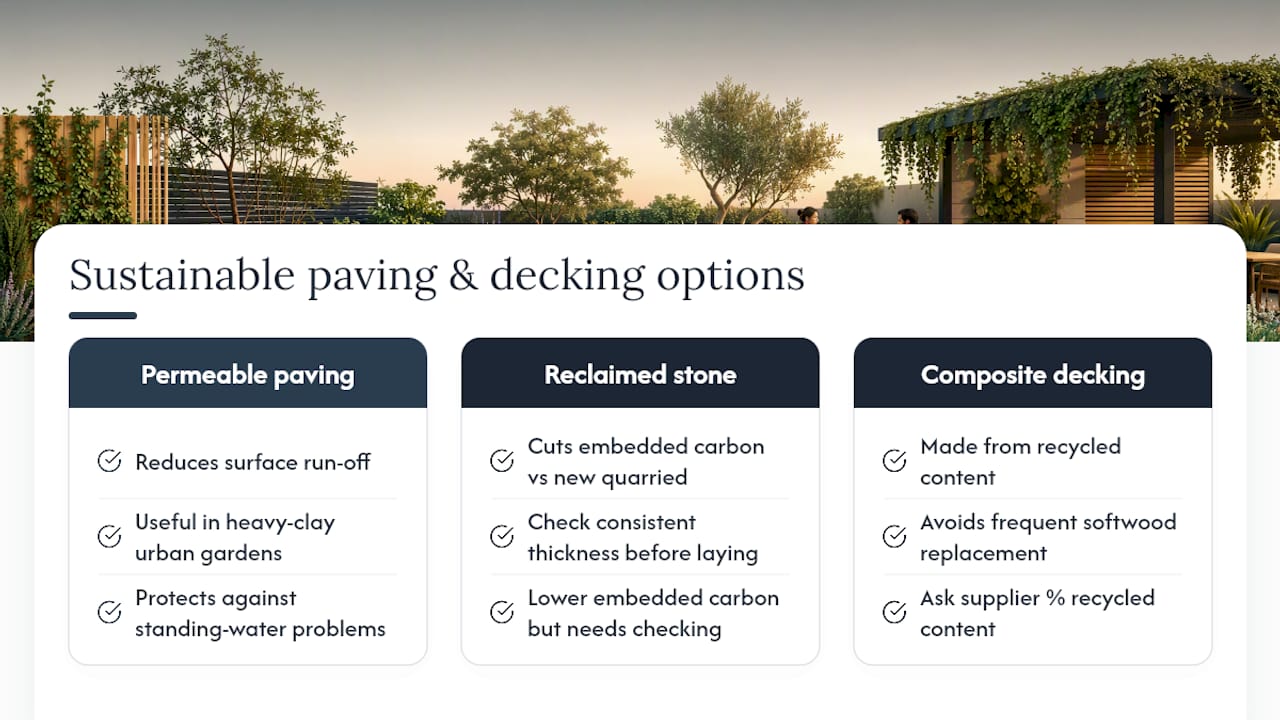
Composite decking made from recycled content is now widely available and avoids the timber replacement cycle of softwood decking, which typically needs treating or replacing every few years. It’s worth asking suppliers directly what percentage of recycled content a product actually contains, since claims vary considerably between manufacturers.
On the planting side, grouping plants by water need, sometimes called hydrozoning, cuts irrigation demand substantially because you’re not watering drought-tolerant plants at the same rate as thirsty ones. Native or near-native species generally need less intervention once established, and they tend to support more local pollinators than imported ornamentals.
Peat-free compost is now the sensible default for any soil amendment, given the environmental cost of peat extraction. If you’re amending clay or sandy soil as covered in Step 7, reach for composted bark, leaf mould or green waste compost instead.
Rainwater harvesting, even a single water butt fed from a shed or pergola roof, reduces mains water use for the growing zone identified in your sun-path survey. It’s a small addition that pays for itself within a couple of seasons on a garden with any edible beds.
Do you need permission for outdoor structures?
Most patios, decking under 300mm high, and planting work fall outside planning permission entirely, since they count as permitted development for most residential properties. The moment a structure gets taller, closer to a boundary, or more permanent (a pergola with a solid roof, for instance, rather than an open lattice), the rules shift and depend on your specific council and property type.
Conservatories, listed buildings and properties in conservation areas carry tighter restrictions than a standard semi-detached house, so a structure that’s fine for a neighbour might not be fine for you. Always check with your local planning authority before ordering materials for anything beyond a simple patio or low-level decking, rather than relying on what worked for someone else’s garden.
Building regulations are a separate matter from planning permission and can apply even when planning permission isn’t needed, particularly around drainage connections and any structure attached to the house. A reputable installer of pergolas, verandas or fixed canopies should already know which of your local rules apply and will flag this before work starts, not after.
Author’s note
I’ve fixed more gardens ruined by a rushed threshold or ignored drainage fall than by a badly chosen plant. Groundworks first, always.
Need help getting the shelter and shading right?
Getting the groundworks and drainage sorted is only half the job. The other half, working out which pergola, awning or screen actually suits your layout, doors and power points, is where most DIY plans stall or go wrong. Infinityawnings designs, supplies and installs pergolas, retractable awnings and made-to-measure screens across Yorkshire, Derbyshire, Nottinghamshire and Lincolnshire, working with established brands like Weinor, Llaza and Morvelle to fit shelter around your existing thresholds rather than forcing a compromise.

If Step 6 has you thinking about a pergola for your garden, coordinate the drainage and electrics for lighting or heating now, before the structure goes in, rather than retrofitting later. Request a free quote for a pergola design and get a proper site assessment from someone who fits these structures for a living.
Sources
Complex drainage or planning queries usually still need a local consultant or your council directly.
Recommended
Comments