
Timber frame awnings under 2.4m: DIY in five steps for UK homes

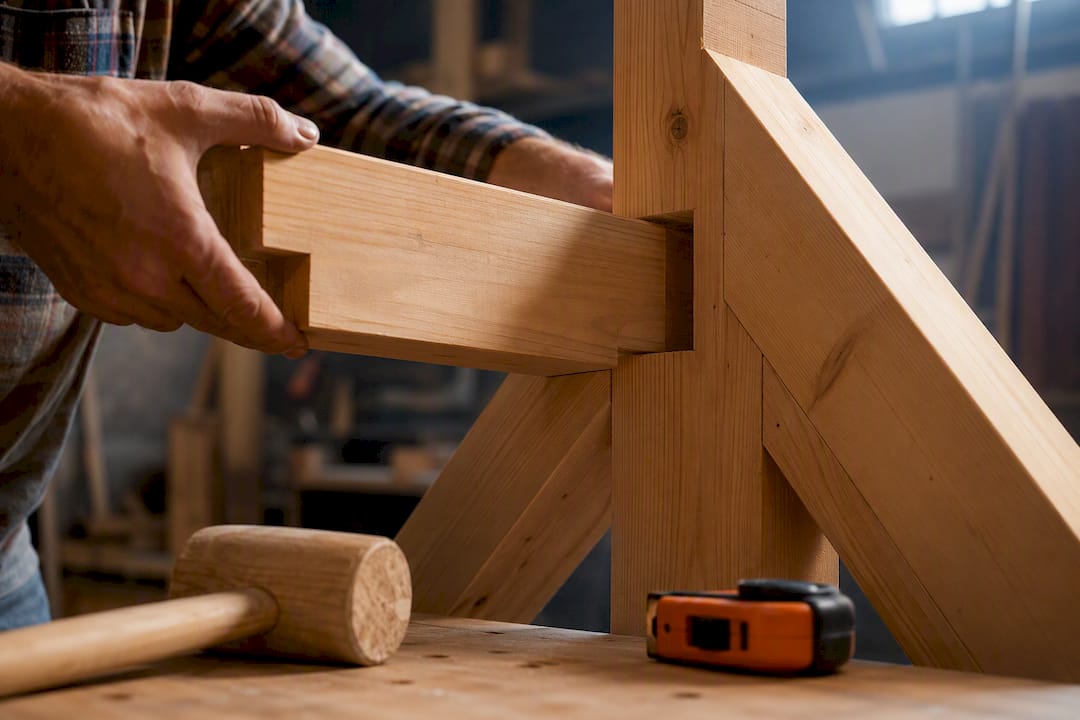
A timber frame awning is a fixed, structural overhang built from solid wood, designed to shelter a doorway, window or patio for decades rather than seasons. It suits homeowners who want an architectural upgrade rather than just shade, and who are prepared to either build a small kit themselves or bring in a structural design for anything larger. If you want something retractable for a fair-weather summer, look elsewhere.
TL;DR:
Timber frame awnings are permanent, fixed structures that last for decades and are best suited for enhancing architectural appeal over short-term shade solutions.
Common materials like cedar and Douglas fir differ in durability, with finishes such as staining or untreated timber affecting longevity and appearance.
Installation is manageable for DIYers on small kits under 2.4 meters span but requires professional input for larger or tiled-roof designs involving structural calculations.
Most small awnings fall under permitted development rights, but exceeding size, height, or proximity limits requires planning permission and possibly building control approval.
Maintenance involves re-staining every two to three years and inspecting vulnerable areas like flashing to ensure a timber awning reaches a lifespan of 25 to 30 years.
Table of Contents
What is a timber frame awning and where does it work best?
Unlike a retractable fabric awning or an aluminium box system, a timber frame awning is permanent. It doesn’t fold away, and it doesn’t rely on a motor or a fabric that needs replacing every few years. Once it’s up, it’s part of the building’s structure, carrying its own roof covering on a fixed timber frame rather than a rolled or telescopic mechanism.
That permanence shapes where it makes sense. Timber frame awnings tend to appear over:
Front doorways and porches, where a projecting timber canopy adds both shelter and kerb appeal
Garage heads and side entrances, protecting doors and brickwork from direct rain
Windows in older or period properties, echoing existing joinery details
Patios paired with a pergola, extending the roofed section for year-round rain cover
The design payoff is as much visual as functional. A well-proportioned timber awning changes how a wall reads from the street, adding depth, shadow lines and texture that a flat fabric canopy simply can’t match. Where a retractable awning disappears, timber stays put and becomes part of the architecture.
Choosing timber species, finishes and roof coverings
Species choice determines how long the frame lasts before you’re dealing with rot or movement. Douglas fir and cedar are the two most common choices for exposed structural timber. Douglas fir offers strong dimensional stability, meaning it resists warping and twisting as it dries out after installation. Cedar brings natural rot resistance without pressure treatment, though it costs more. Pressure-treated softwood is the budget option and works fine if you’re diligent about re-finishing.
Whatever species you choose, finish matters as much as the timber itself:
Pre-stained kits save a weekend of prep work and give more even UV protection from day one
Site-applied stains let you match existing woodwork but need careful application to avoid patchy weathering
Untreated timber left to silver naturally looks striking but sacrifices some structural longevity
Roof coverings bring their own trade-offs. Solid timber or composite decking roofs look the most substantial but add weight, which affects post sizing and foundation depth. Polycarbonate sheeting lets light through and stays lightweight, useful where you want brightness without full sun. Clay or slate tiles look superb on period properties but need a much heavier frame and proper structural calculation. Fabric infill panels split the difference, cheap and easy to replace, but they’re the compromise choice rather than the premium one.
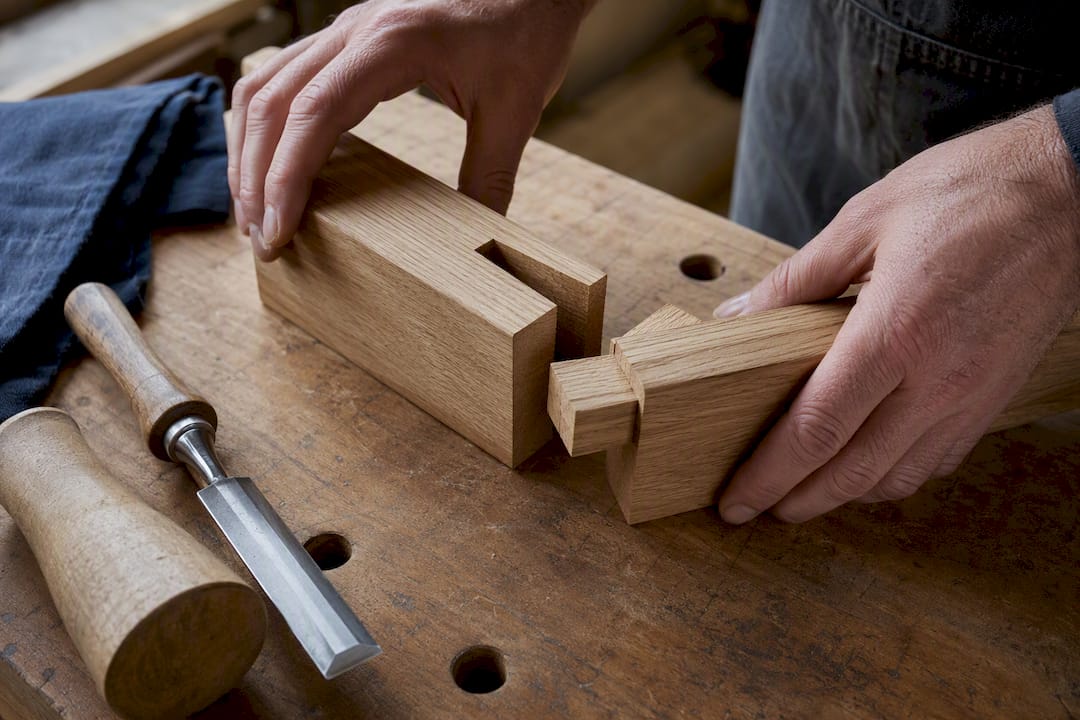
Pro Tip: Ask any kit supplier whether the frame uses mortise-and-tenon joinery or simple bolted brackets. Traditional joinery takes the load through interlocking timber rather than relying entirely on the fixing hardware, and it tends to stay tight for decades where bolted joints can work loose.
How do you build or install a timber frame awning?
A small kit, roughly 0.9 metres deep by 2.4 metres wide, is realistically the largest project a competent DIYer should tackle without engineering input. Anything bigger, or anything carrying a heavy tiled roof, needs a structural design behind it.
Measure the site and decide kit versus bespoke. Check wall condition, overhead obstructions and how much projection you actually need before ordering anything.
Check the substrate before fixing the ledger board. Brick, render and timber cladding all need different fixings, and a ledger bolted into loose render will fail eventually.
Dry-fit the frame joinery on the ground first. This catches any misaligned mortise-and-tenon joints before you’re balancing a post in one hand.
Raise and brace the frame, checking it’s plumb and square before any permanent fixings go in.
Fit the roof covering and flashing last, working from the wall outward so water is always shed away from the building.
For a 3 foot by 8 foot kit, budget a full weekend if you’re working alone, or a single day with two people who’ve read the instructions beforehand.
You’ll need:
A cordless drill/driver and a decent set of masonry bits
A spirit level and a set of sash clamps for dry-fitting joints
Stainless steel or hot-dip galvanised fixings, never plain zinc, for anything exposed to weather
Flashing tape and roofing sealant appropriate to your chosen roof covering
Get an engineer involved if the awning spans more than about 2.4 metres unsupported, sits on a wall of uncertain condition, or carries a heavy tiled roof. Poor flashing at the wall junction and non-stainless fixings are the two most common reasons DIY awnings start rotting within a few years.
Do you need planning permission for a timber frame awning?
Most small awnings fall under permitted development, but the limits are specific, not a blanket exemption. Class D of the General Permitted Development Order sets exact caps on ground area, height and distance from a boundary or highway for porch-type structures, and a timber awning that exceeds any one of them needs a full planning application.
Building Regulations sit alongside planning permission as a separate hurdle. A porch or small canopy can be exempt from Building Regs if it meets specific conditions around floor area and glazing, but that exemption isn’t automatic once you add extras.
Extending your heating into the sheltered space, or wiring in lighting, can bring the structure within Building Regulations scope even if the awning itself would otherwise be exempt
Listed buildings and conservation areas commonly remove permitted development rights entirely, so check status before altering any external elevation
Structural work, particularly new foundations or altering an existing lintel, generally needs building control sign-off regardless of the structure’s size
If you’re not certain which category your project falls into, a quick call to your local building control team costs nothing and saves a great deal of grief later. For a deeper look at the difference between permitted development and full planning consent, this guide breaks down the distinction in more detail, and if you’re weighing an awning against a fuller veranda project, this piece on veranda planning rules covers similar ground.
What does a timber frame awning cost?
Small pre-cut kits start at a few hundred pounds for materials alone if you’re fitting it yourself. A material-only budget for a mid-sized bespoke frame, cedar or Douglas fir with a polycarbonate roof, typically runs into four figures once you include fixings, flashing and finish. Supply-and-fit through a professional installer costs more but removes the structural risk and the weekend of your own labour.
The biggest cost drivers, in rough order of impact, are:
Timber species: cedar costs noticeably more than pressure-treated softwood
Roof covering: tiled roofs cost far more than polycarbonate or fabric infill, both in materials and in the frame needed to support them
Custom detailing: curved brackets, decorative corbels and matched period joinery all add labour hours
Access and scaffolding: a first-floor window awning costs more to install than a ground-floor porch, purely on access alone
When getting quotes, ask specifically whether the price includes structural calculations, flashing, and any make-good work to existing render or brickwork. A quote that looks cheap next to others often just excludes those items rather than doing the job for less. For detailed regional pricing, this cost breakdown is worth reading before you commit to a supplier.
How much maintenance does a timber awning need?
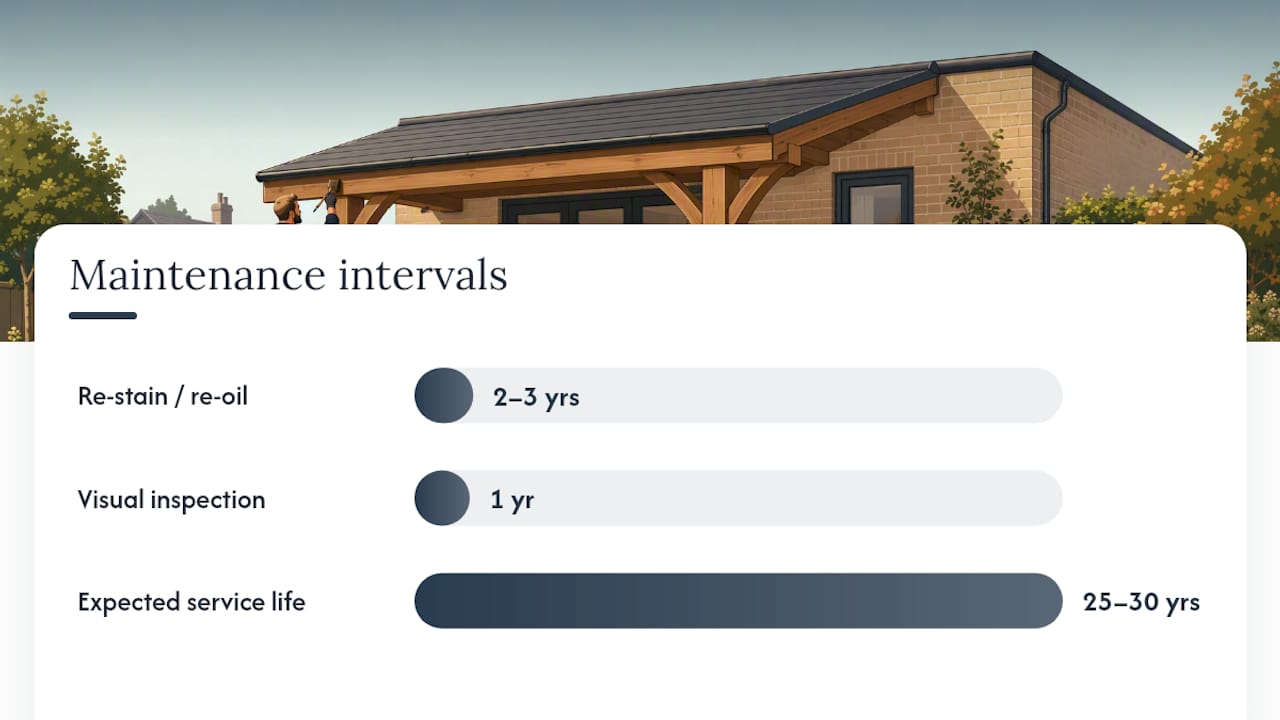
Plan to re-stain or re-oil the frame every two to three years, more often if it faces harsh weather or direct south-facing sun. An annual visual inspection catches problems while they’re still cheap to fix.
Focus on:
Flashing at the wall junction, the single most common source of hidden rot
Ventilation gaps behind any solid roof covering, which stop moisture building up in the frame
Fixing tightness at every joint, checked by hand rather than assumed
Pro Tip: Push a thumbnail into any timber near ground level or at the wall junction each spring. If it sinks in easily, rot has already started, and it’s far cheaper to treat now than to replace a post later.
With proper maintenance, a well-built timber awning easily reaches 25 to 30 years of service. Soft, spongy timber, persistent green staining, or fixings that wobble under hand pressure are the signs it’s time for a proper overhaul rather than another coat of stain. For a fuller maintenance schedule, this guide covers seasonal checks in more depth.
When should you DIY a timber awning, and when should you call a professional?
Three rules hold up on most sites: if the span is under 2.4 metres and the roof is light, a competent DIYer can manage it. If the wall is a party wall, listed, or of uncertain condition, get a structural opinion before you drill anything. And if you’re adding heating or lighting, treat it as an electrical job requiring proper certification, not an afterthought.
A free design consultation earns its keep the moment your project sits outside those limits, particularly for bespoke spans or tiled roofs. If that’s where your project has landed, we’re happy to talk it through.
— Andrew
Bring your timber awning project to Infinity Awnings
If you’d rather skip the scaffolding, the structural calculations and the weekend spent dry-fitting joints, professional installers can help. We design, supply and install bespoke pergolas, awnings and verandas across Yorkshire, Derbyshire, Nottinghamshire and Lincolnshire, handling everything from timber species selection through to the final flashing detail.
A free design consultation covers site assessment, material recommendations and a clear quote before any work starts, so there’s no guessing what’s included and what isn’t. Installers often work with recognised brands and can add extras like integrated LED lighting or heaters if you want the space usable after dark or into autumn. If a fixed timber structure feels like the better long-term fit for your garden than a retractable awning, our pergola design and installation service is the natural next step. Get in touch for a free quote and we’ll tell you honestly whether your project needs a full design or just a well-fitted kit.
Sources
Check Class D permitted development rules, porch Building Regulations guidance, and our own aluminium frame comparison before you commit.
Recommended
Comments