
Set Awning Pitch 10–15° to Stop Rain Pooling, Installer Advice for UK Homeowners


Set your awning between 10 and 15 degrees to keep water running off rather than pooling, and check that pitch first if you already have puddling on the fabric. Anything shallower than about 5 degrees will hold water during a shower, and any awning left out in sustained heavy rain or strong wind should come in regardless of angle. Pooled water is heavy, and wet fabric left rolled up will mildew fast.
TL;DR:
A minimum pitch of around 14 degrees is recommended to reliably shed rain and prevent water pooling on awning fabric.
Checking and maintaining correct pitch involves simple tools like a spirit level or taut string, and should be done regularly after adjustments or heavy rain.
Structural factors such as wall mounting height, projection length, and bracket condition significantly affect the safe and effective pitch adjustment.
Using waterproof fabrics and corrosion-resistant frames extends the lifespan of awnings in sustained wet conditions, reducing sag and pooling risks.
Always retract the awning during sustained heavy rain or strong wind, and inspect for sag or damage before reusing it to ensure safety and durability.
Table of Contents
Understanding pitch and the numeric rules for draining rain
Pitch is simply the angle your awning fabric makes against horizontal, and it decides whether rain runs off the front edge or sits in a dip. You can measure it in degrees or as a slope ratio: a 10 degree pitch is roughly the same as dropping 1.8 metres over a 10 metre run, similar in principle to the way guttering is pitched to keep water moving rather than pooling in the channel(https://roofingandexteriorpros.com/gutter-slope-per-foot).

Guidance from awning maintenance specialists suggests a minimum pitch of around 14 degrees to reliably shed water and stop weight building up on the fabric, some of which can exceed 50 kilograms once a dip fills during a downpour. Below that, light showers may run off adequately on a well-tensioned fabric, but the margin for error shrinks quickly.
You do not need specialist kit to check this yourself:
A spirit level with an angle finder attachment gives a quick digital or bubble reading at the front bar.
A length of string pulled taut from the wall bracket to the front bar, measured against a tape for rise and run, gives the same answer without any tools beyond a tape measure.
Checking the angle after any adjustment, not just at installation, catches slippage caused by worn joints or a loosened arm.
Shallow pitches fail slowly. A few millimetres of sag lets water collect in a low point, then more water arrives before the first lot drains, and the fabric stretches further under the extra weight. That is how a two centimetre dip becomes a standing pool within an hour of rain.
How to set pitch on common awning types
Different awning types adjust differently, and pushing an unfamiliar mechanism too far risks damaging brackets or motors.
Retractable awnings: pitch is usually set at the wall brackets or via arm geometry, and many electric models include a motorised tilt function that lets you steepen the angle at the touch of a button once rain starts.
Cassette and semi-cassette systems: these have a narrower safe adjustment range because the fabric and arms must still close fully into the housing, so large angle changes often need a professional to reset the arm tension and bracket position.
Motorhome and poled awnings: lowering one corner pole slightly, then tensioning the fabric and adding a storm strap, is a quick way to encourage water to run off one side rather than sitting in the centre.
Pro Tip: Never work alone on a ladder when adjusting wall brackets, and check every fixing screw for movement before you tension the fabric.
Avoid over-tightening arms or straps, since excess tension can distort the frame rather than improve run-off, and always confirm the bracket screws are still seated firmly in the wall before trusting a new pitch in wet weather.

Installation and bracket factors that limit or enable pitch changes
The angle you can safely reach depends on where the awning is mounted and how far it projects, not just how the brackets are set. Mounting height above a door or window controls how much you can steepen the pitch before the front bar drops too low for headroom, and a longer projection needs a shallower minimum angle to avoid the same problem.
Bracket geometry is what installers actually adjust on site, and bespoke bracket positioning is often what makes the difference between an awning that drains well on a tight balcony and one that pools no matter how it is tensioned. Before changing pitch yourself, check the wall or fascia for:
Damp patches or staining around existing fixing points.
Cracked or crumbling mortar near the brackets.
Any fixing that moves or feels loose when pushed by hand.
If any of those show up, book a site survey rather than attempting a DIY adjustment, since a weak fixing under load in wind is a genuine safety risk.
Which fabrics and frame designs handle rain best
Not every awning fabric marketed as weatherproof behaves the same way in sustained rain. Water-resistant fabrics slow absorption but eventually saturate, while genuinely waterproof fabrics keep shedding water at the same pitch that would soak a lower-grade material.
Solution-dyed acrylic fabrics typically last 10 to 20 years with correct care, against 5 to 10 years for standard polyester, and they hold their coating better under repeated wetting.
Corrosion-resistant aluminium frames keep their shape over years of damp exposure, which matters because a warped arm changes your pitch without you noticing.
Full cassette systems protect both fabric and mechanism when retracted, reducing the moisture and grit that shorten fabric life.
Roller tube diameter and even tension across the fabric width stop the sag that creates a pooling point in the middle of an otherwise well-pitched awning.
Choosing a retractable awning material built for wet conditions makes the correct pitch easier to maintain over time, rather than fighting sag every season.
Maintenance routine to avoid pooling damage
A good pitch only works if the fabric and mechanism stay in the condition they were installed in.
Clean with a soft-bristle brush and a low-pressure rinse, never a high-pressure washer, which strips the hydrophobic coating that helps water bead and run off.
Let the fabric air-dry fully before retracting it, and never leave wet fabric rolled up for more than 24 hours, as damp fabric against itself causes mildew and fabric stick.
After several wet days in a row, check the pitch angle again, inspect arm joints for stiffness, and lubricate as the manufacturer recommends.
If pooling has already stretched the fabric, retighten tension at the roller tube, and if that does not resolve the sag, treat it as a job for a professional rather than a DIY fix.
Safety limits and when you must retract the awning
Pitch reduces pooling risk, it does not remove it. Retract the awning whenever you see:
Visible sag in the fabric between the arms, even at the correct nominal pitch.
Creaking, flexing or visible movement at the wall brackets.
Sustained heavy rain or wind forecast, rather than a brief shower.
Pooled water on a fabric that has already begun to sag adds weight fast, and continuing to load a stressed bracket in wind raises the chance of a fixing failure. Always follow the manufacturer’s or installer’s stated wind and rain limits, since exceeding them can also void a warranty.
What installers check that most homeowners miss
Fitters spend most site visits balancing three things: enough pitch to drain fast, enough projection to give useful shade, and enough clearance that the front bar does not become a hazard at head height. Getting all three right on a small balcony or a narrow commercial frontage usually means custom bracket positions rather than a standard fitting.
Common installation errors include setting pitch to look level rather than to drain, and mounting brackets before checking the wall for damp or weak mortar. Before attempting any DIY change yourself, work through this short check:
Confirm the current pitch with a spirit level or angle finder.
Inspect every fixing point for movement or corrosion.
Check fabric tension is even across the full width, not just at the edges.
Why drainage and installer quality matter more than gadgets
If rain protection is the priority, fabric grade and cassette protection matter more than extra features. Motorisation and rain sensors add convenience, but they do not fix a badly pitched frame.
— Andrew
Getting your awning pitched and fitted properly
A correctly pitched awning depends on brackets set for your specific wall, projection and clearance, which is why a site survey is important. We check pitch, bracket condition and fabric tension on-site rather than fitting to a standard angle regardless of the building.
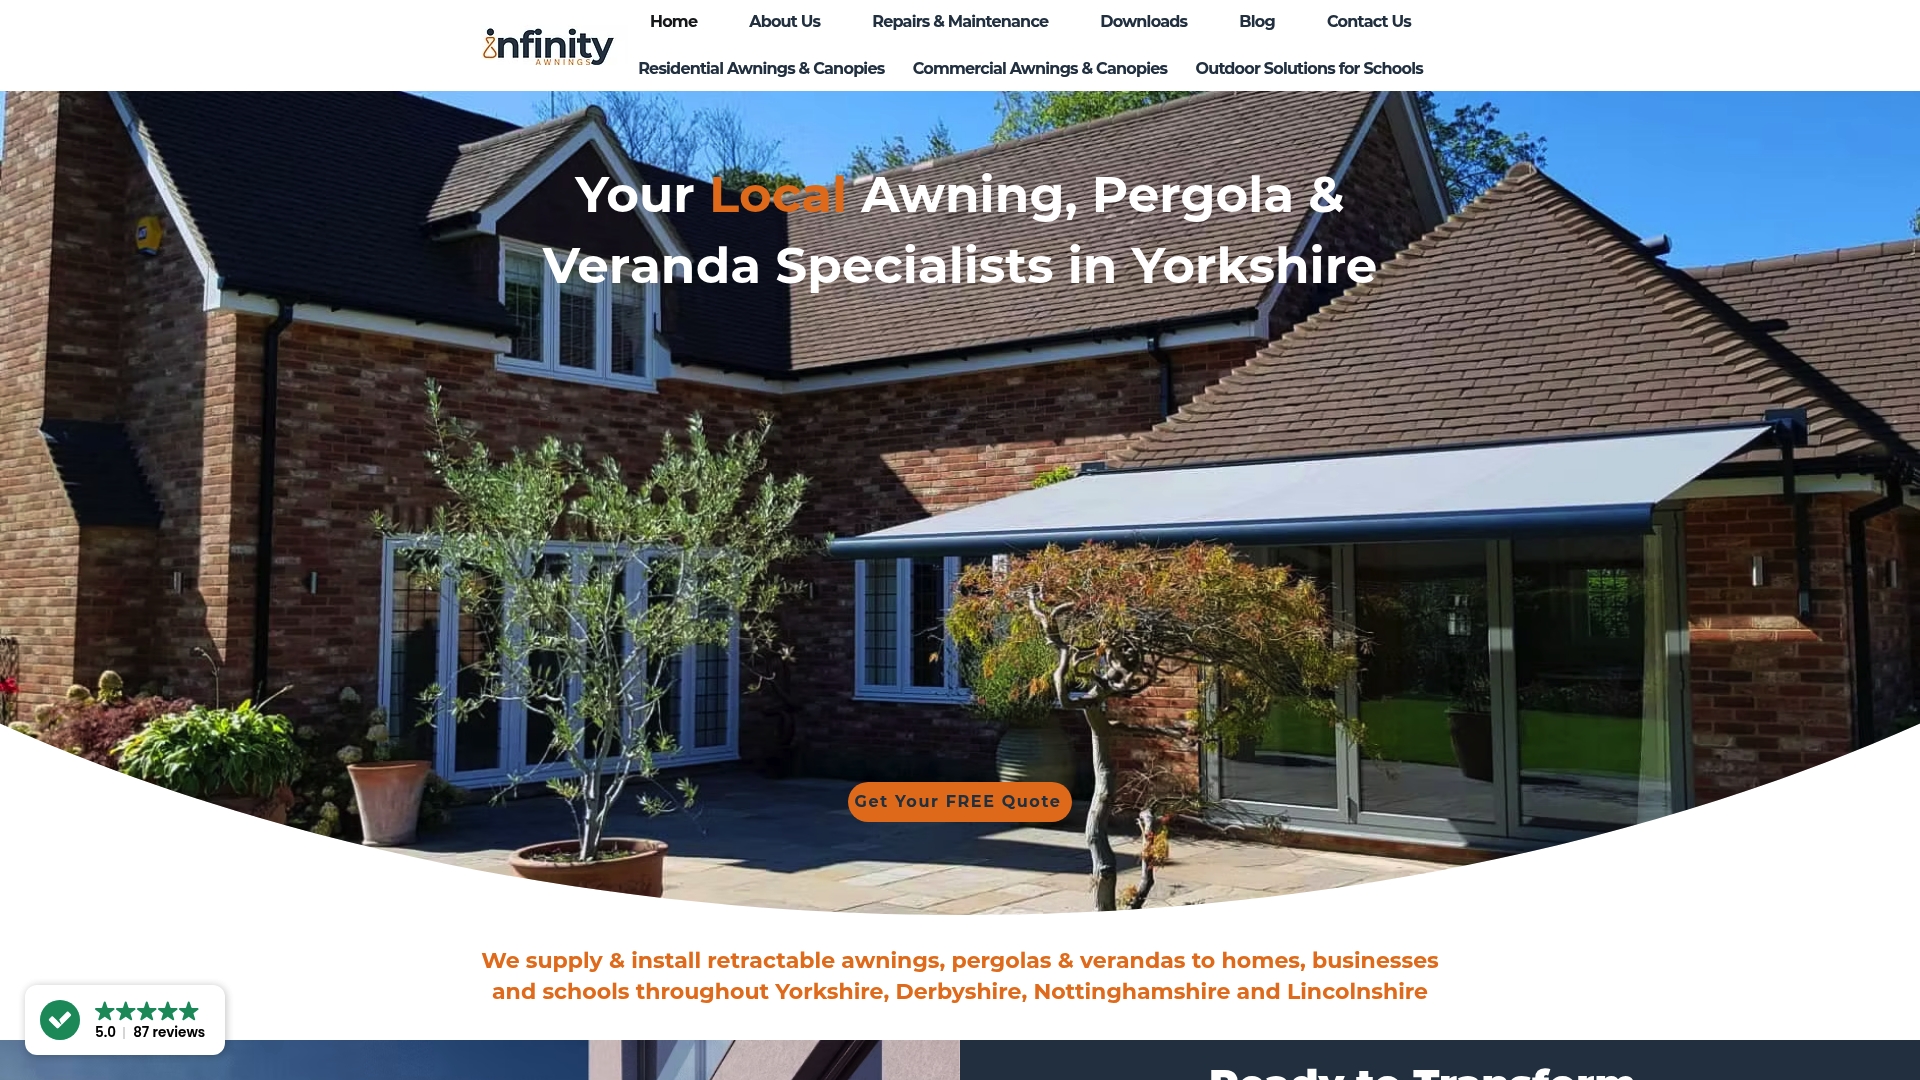
We supply and install retractable awnings, pergolas and verandas across homes and businesses.
A visit includes checking wall condition, agreeing bracket geometry, and confirming a pitch suited to your projection and local weather.
Get in touch for a free quote and we will arrange a site visit to assess your setup.
Sources
FAQ
What is the ideal slope for an awning?
Most guidance recommends a pitch of 10 to 15 degrees for reliable rain run-off, with a minimum of around 14 degrees suggested avoiding pooling. The right figure within that range depends on projection, mounting height and local rainfall patterns.
Can you use an awning in the rain?
Most retractable awnings can handle light to moderate rain if pitched correctly and tensioned evenly. They should be retracted during sustained heavy rain or strong wind, since pooled water adds weight that can stress the frame and fixings.
Can you put an awning on a hardstanding pitch?
Awnings are commonly fitted on hardstanding pitches, and the same drainage principles apply regardless of the ground surface beneath. What matters for rain performance is the wall or vehicle mounting point, bracket geometry and fabric pitch, not the ground type.
How do I stop rain pooling on an awning?
Check and correct the pitch first, aiming for the 10 to 15 degree range, since even a small dip from a loose arm or bracket will collect water. Keep fabric tension even across the width and address any sag or stretching promptly rather than leaving it to worsen.
Recommended
Comments