How to Install Retractable Awnings for Comfortable Outdoor Living
- Andrew Crookes

- 5 days ago
- 15 min read
Stepping into your garden on a bright Yorkshire afternoon, you might notice how quickly sunshine transforms comfort into glare. Creating a shaded spot is more than a simple fix, especially with weather that shifts from sunny spells to blustery winds. Choosing the right retractable awning brings harmony to your outdoor living, blending style, protection, and practicality. This guide shares practical steps to help you make a confident, informed upgrade for lasting enjoyment at home.
Table of Contents
Quick Summary
Key Message | Explanation |
1. Assess your outdoor space | Observe sunlight, wind patterns, and nearby structures to choose a suitable awning type for maximum effectiveness. |
2. Prepare installation area | Gather necessary tools and ensure the installation site is clear of obstacles for a smooth awning installation process. |
3. Securely mark and drill | Ensure precise positioning of mounting points to prevent misalignment during installation, which can affect performance. |
4. Test motorised connections | After installation, thoroughly check all electrical connections for safety before testing the awning’s operation. |
5. Schedule regular inspections | Conduct timely checks for fastener security and fabric condition to maintain optimal performance and prevent future issues. |
Step 1: Assess your outdoor space and choose the right awning
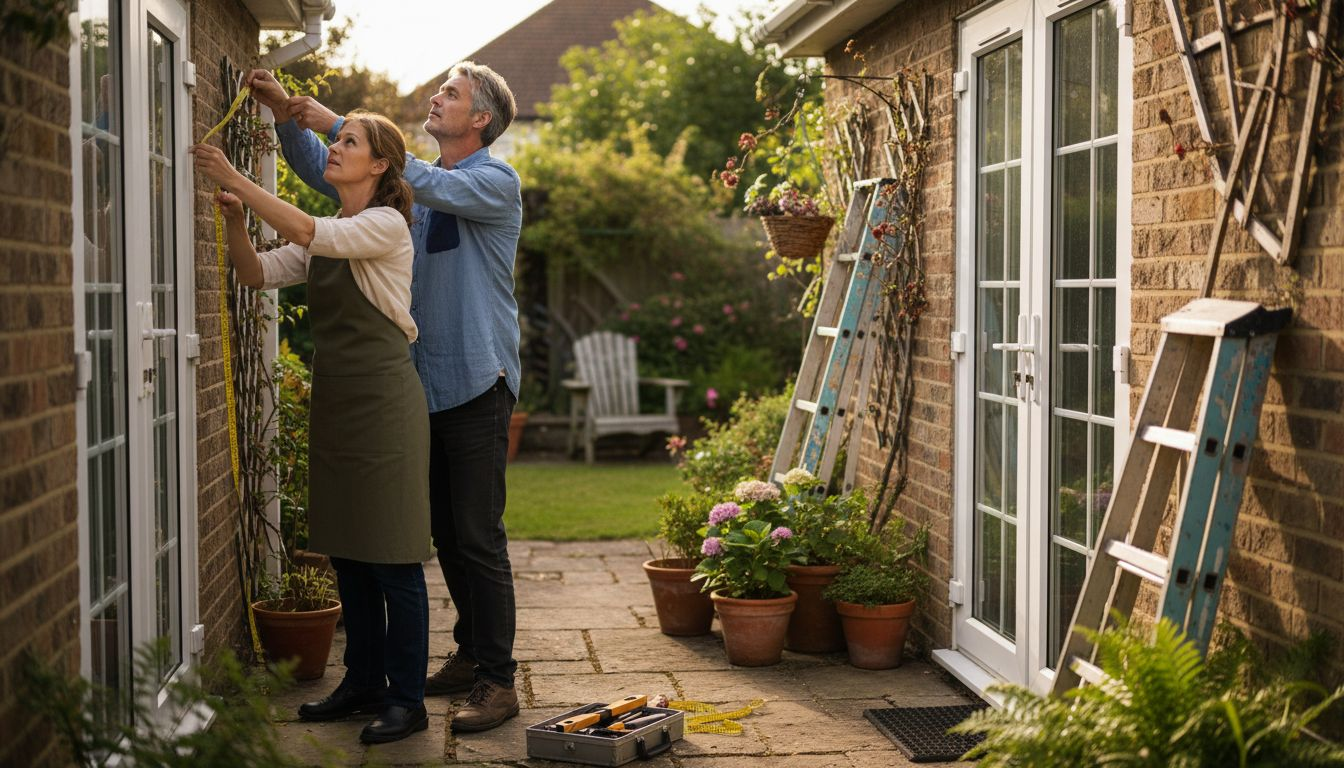
Before you commit to purchasing a retractable awning, take time to understand your outdoor space in detail. Walk around your patio or garden during different times of day and note where the sun hits hardest, where wind tends to pick up, and which areas genuinely need protection. This simple observation period saves you from expensive mistakes down the road. Most homeowners in Yorkshire overlook how their garden changes throughout the day, especially with our variable weather patterns. The afternoon sun that blasts your south facing garden at 3 PM might be completely blocked by neighbouring trees at 6 PM. These details matter because they directly influence whether a wall mounted awning, free standing structure, or pergola solution works best for your situation.
Measure your space accurately, including the width and depth where you want the awning installed. Check for any obstacles like downpipes, electrical boxes, or existing structures that might interfere with mounting or operation. Look upwards too. Do you have sufficient clearance for the awning to extend fully without hitting guttering, overhanging branches, or cables? Test whether wind shelters your garden naturally or if it funnels through gaps between buildings. All these observations feed directly into choosing the right awning for your space, as different styles perform differently depending on exposure and layout. Consider how you plan to use the space. Will you be hosting frequent gatherings, working from home, or simply relaxing? This determines whether you need maximum shade coverage, partial sun filtering, or flexibility to adjust throughout the day. Yorkshire’s unpredictable weather means having an awning you can retract quickly during sudden wind changes becomes genuinely valuable rather than a nice to have feature.
Think about the aesthetic impact too. Your awning should complement your home’s existing style rather than clash with it. Modern fabric patterns and colour ranges mean you’ve got plenty of options to match contemporary architecture or traditional stone properties common across Yorkshire. Browse examples of installations similar to your home type and take photographs of styles you like. This visual reference point helps you communicate clearly with installation specialists about what you’re actually aiming for, rather than getting lost in technical specifications.
Pro tip: Photograph your space from multiple angles at different times of day, marking shadow patterns and wind direction observations on your phone. This visual record becomes invaluable when discussing options with specialists and helps you spot seasonal variations you might otherwise miss.
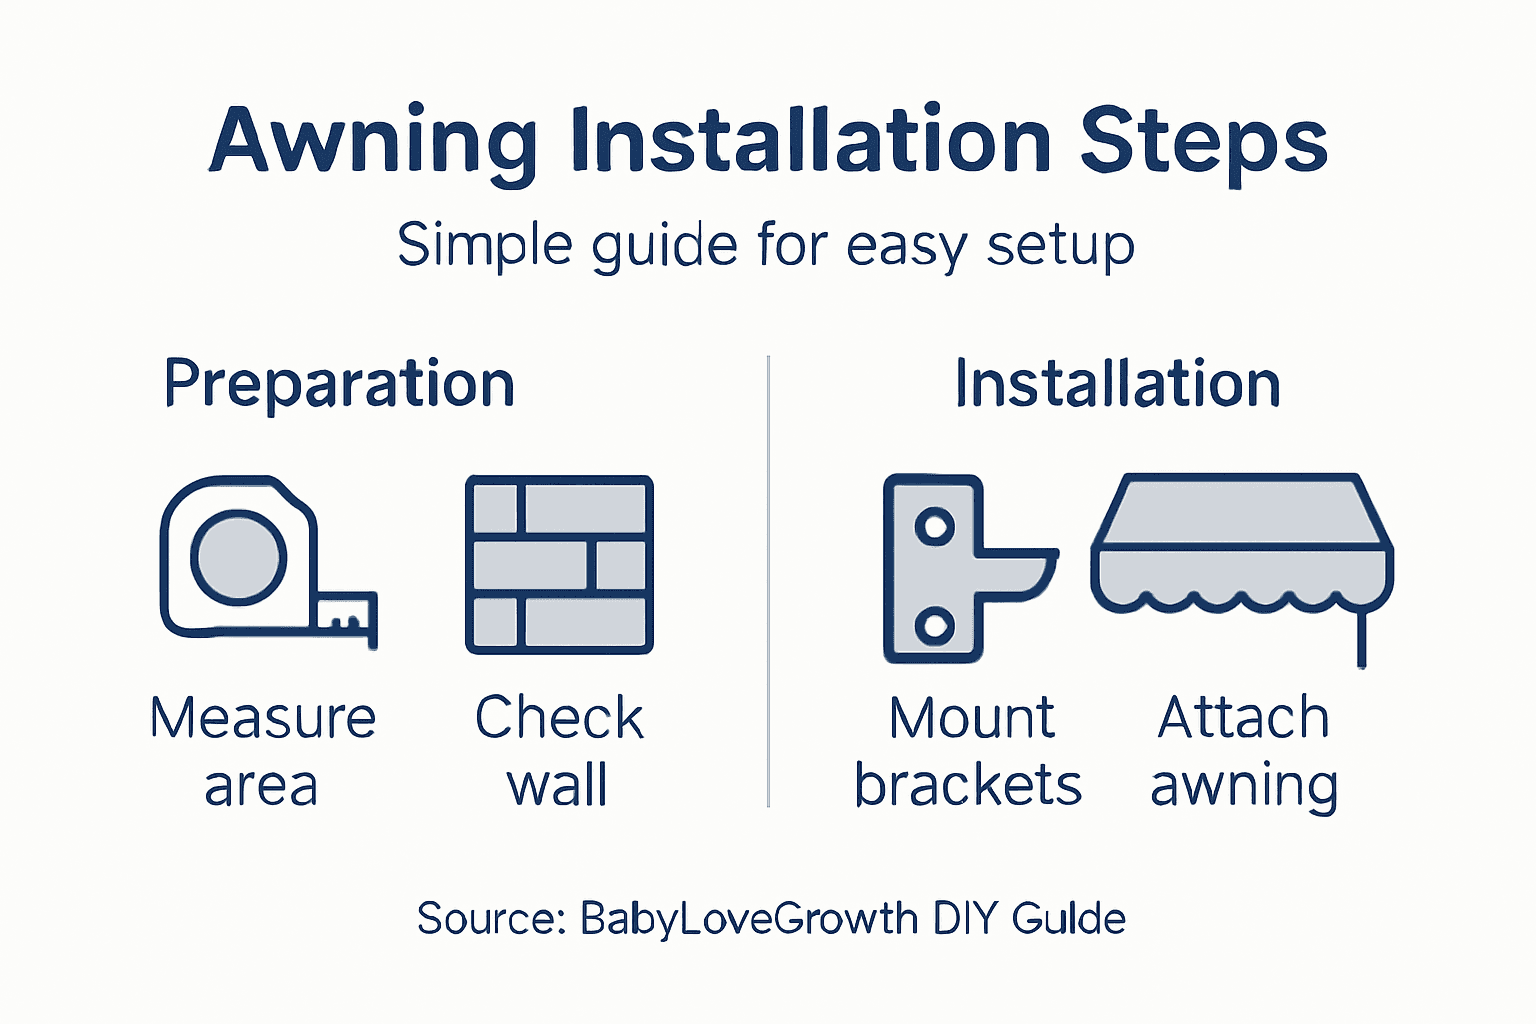
Here’s a quick comparison of common awning types and their suitability for different outdoor scenarios:
Awning Style | Best For | Weather Resistance | Typical Aesthetic Impact |
Wall Mounted | Patios with solid walls | High wind protection | Matches most home exteriors |
Free Standing | Gardens without wall access | Moderate resistance | Flexible and contemporary |
Pergola Awning | Large entertaining spaces | Excellent sun blockage | Blends with traditional settings |
Step 2: Gather tools and prepare the installation area
Gathering the right tools and preparing your installation area properly sets the foundation for a smooth, safe installation. You’ll need basic hand tools like a drill, spirit level, tape measure, and screwdriver set, plus a ladder or scaffolding to reach your installation height safely. Power tools make the job faster, but take time to inspect everything before you start. Check your drill battery is fully charged, ensure your ladder is stable and positioned on level ground, and lay out all fasteners, brackets, and hardware where you can easily access them. Many homeowners underestimate how much time goes into proper preparation, but rushing this stage leads to misaligned installations and wasted materials. Clear your work area completely, removing garden furniture, potted plants, and anything else that might get in your way or damaged during the process. You’ll need space to manoeuvre, position materials, and safely operate power tools without tripping hazards.
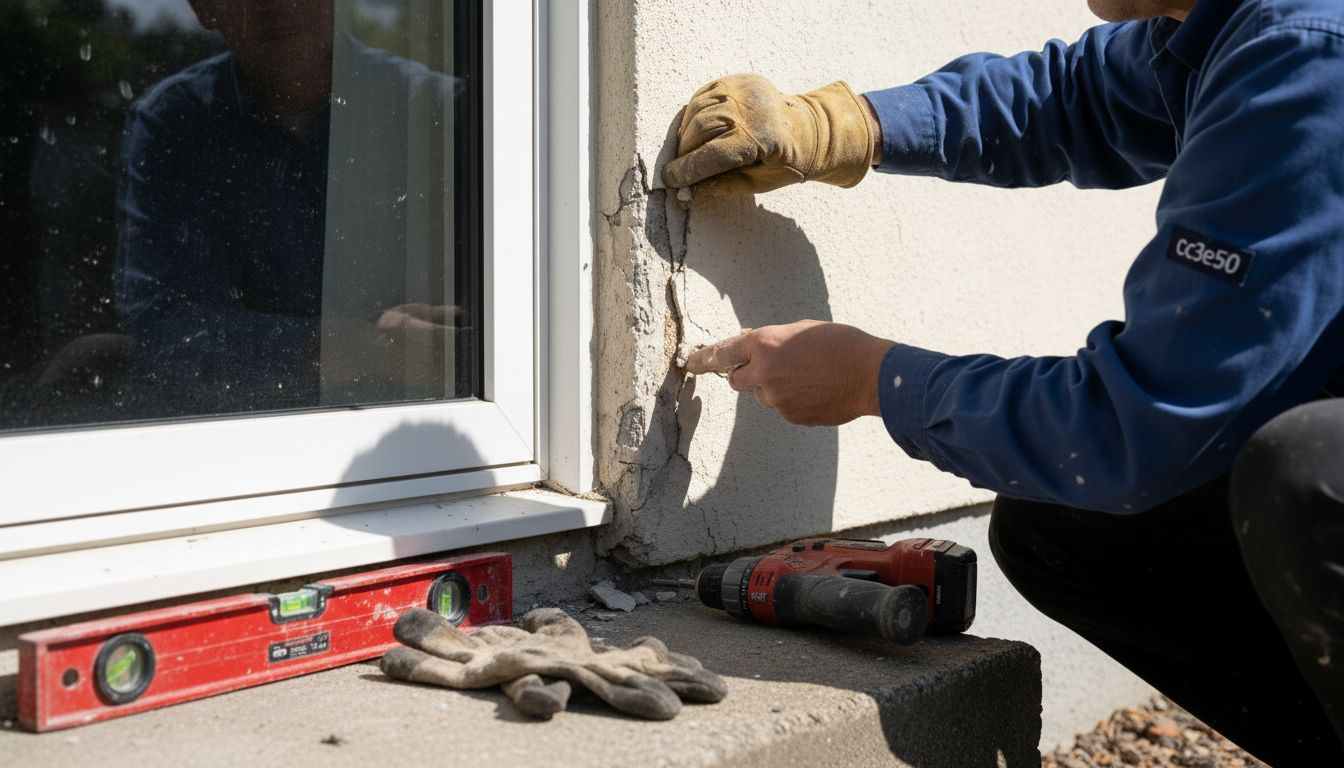
Inspect the wall or structure where you’re installing the awning mounting bracket. Look for cracks, loose rendering, or damp patches that suggest structural issues. If you spot anything concerning, address it before installation. The mounting surface needs to be solid and capable of supporting the awning’s weight plus wind load forces, especially during Yorkshire’s blustery weather. Clean the area thoroughly, removing dirt, algae, or loose paint that could prevent proper bracket adhesion. Mark your mounting points carefully using a spirit level to ensure your awning hangs perfectly straight. Take measurements twice to verify positioning, as drilling holes in the wrong location creates unnecessary complications. Gather plastic sheeting or dust sheets to protect nearby surfaces, flooring, and plants from debris. Installation creates dust and occasionally small pieces of masonry fall, so having protection in place prevents costly cleaning or damage afterwards. Make sure you have adequate lighting too. If you’re working in an area with poor natural light, set up a work lamp or portable lighting rig so you can see precisely what you’re doing. Poor visibility leads to mistakes that compromise both safety and the final result.
Contact your installation specialists to confirm they’re bringing all necessary equipment and hardware, but having your own basic toolkit ready demonstrates you’re prepared and organised. Many professional installers appreciate working with homeowners who’ve thought through the preparation stage, as it keeps everything on schedule and reduces unexpected delays. Your preparation directly influences how quickly and efficiently the installation proceeds.
Pro tip: Photograph the wall or structure before you start, and keep these images alongside your measurements and mounting diagrams, creating a clear record that proves useful if you ever need to troubleshoot issues or make adjustments later on.
Step 3: Mark and drill secure mounting points
This step determines whether your awning installation is truly secure and level. Precision matters enormously here, as even small errors in alignment create problems that become impossible to fix later. Start by using your pre measured positions and a spirit level to mark exactly where your mounting brackets need to go. Hold the spirit level against the wall and mark mounting points with a pencil or chalk, ensuring they’re perfectly horizontal. Most retractable awnings need multiple mounting points along the wall width to distribute weight evenly and resist wind forces effectively. Double check your measurements against your original plans, and if you’re installing brackets into brick or masonry, identify whether you’re drilling into mortar joints or solid brick. Brick is significantly stronger than mortar, so adjust your drilling approach accordingly. If possible, position brackets at brick rather than mortar to maximise holding strength.
Before you start drilling, use a masonry detector or simply tap the wall gently to listen for any hollow spaces, pipes, or electrical wiring behind the surface. Drilling into hidden utilities creates serious safety hazards and costly damage. Once you’re confident the area is clear, select the correct drill bit size for your fasteners and start drilling slowly. Let the drill do the work rather than forcing it, as excessive pressure damages both the tool and the wall surface. Drill perpendicular to the wall to ensure holes are perfectly straight, as angled holes prevent brackets from sitting flush and compromise the installation’s integrity. Take breaks every few holes to allow the drill bit to cool and to check your progress. Debris will accumulate, so use a small brush or cloth to clear dust regularly so you can see exactly where you’re drilling. If your wall is particularly hard or you encounter resistance, stop and reassess rather than pushing through, as you might be hitting reinforced concrete or steel lintel that requires specialist drilling equipment.
After drilling, insert wall plugs or anchors appropriate to your wall type, then partially screw in your fasteners to test fit the mounting brackets. This test fit stage reveals any alignment issues before you commit to full installation. The bracket should sit flush against the wall with no gaps or rocking. If something looks off, remove the bracket and investigate. Perhaps a hole is slightly misaligned or the wall surface is uneven. Make small adjustments now rather than trying to compensate during final assembly. Once you’re satisfied with alignment and fit, you’re ready to secure everything permanently. Your drilling and marking work now becomes the secure foundation that supports your entire awning system for years to come, so taking time to get this right genuinely matters. Modern awning systems depend on robust mounting bracket installation to handle seasonal wind loads and frequent extension cycles without structural failure.
Pro tip: Wear safety glasses when drilling, as debris and dust particles fly with surprising force, and hold your drill firmly with both hands to maintain control if the bit suddenly catches or the drill binds against the wall.
Step 4: Fix the awning brackets and attach the awning unit
Now comes the moment where all your careful preparation transforms into a functional awning. Securing the brackets permanently and attaching the awning unit requires focus and attention to detail, as mistakes here compromise the entire installation’s safety and performance. Start by inserting all your fasteners through the bracket holes and into the wall plugs or anchors you installed earlier. Tighten them gradually in a cross pattern rather than fully tightening one before moving to the next. This cross pattern distributes pressure evenly and prevents brackets from pulling unevenly against the wall. Use a torque wrench if your brackets specify a particular tightening force, as over tightening can strip threads or crack the wall, whilst under tightening leaves the bracket loose and unstable. Check your level repeatedly as you tighten, ensuring brackets remain perfectly horizontal. Even a slight tilt becomes glaringly obvious once the awning is extended, so take time to verify alignment before you finish securing everything.
Once your brackets are fully secured and level, carefully position the awning unit into the bracket cradles. Most retractable awnings slide into position with a specific orientation, so consult your installation manual to confirm you’re inserting it correctly. The unit should sit firmly in the brackets without force or wrestling. If it’s fighting to fit, stop and check your bracket alignment again. Often a slight bracket adjustment makes insertion smooth and easy. Some units have safety pins or locking mechanisms that engage once the awning is properly seated, so verify these are functioning as intended. Connect any electrical components if you’re installing a motorised awning, following the wiring diagram carefully. Incorrect electrical connections create dangerous faults or prevent the motor functioning, so double check every connection before powering anything on. Test the extension and retraction manually or using the control system to confirm everything operates smoothly. The awning should extend and retract without binding or grinding noises, moving fluidly across its full range. If you notice resistance or unusual sounds, stop immediately and investigate rather than forcing the mechanism. Many homeowners discover that professional installation ensures proper bracket mounting and electrical connections prevent complications that costly repairs would otherwise address later.
Once you’ve confirmed the awning operates correctly, make a final check of all visible fasteners to ensure nothing has loosened during testing. Give everything another quarter turn to confirm it’s snug. Your awning is now ready for genuine use, though you might want to test it during light winds before relying on it during Yorkshire’s more boisterous weather. Take photographs of your installation showing the brackets, electrical connections if fitted, and the awning in both extended and retracted positions. These photographs provide valuable reference material should you ever need to troubleshoot issues or make adjustments down the line.
Pro tip: Keep your installation manual, receipt, and photographs in a dedicated folder and store them somewhere accessible, as having this documentation readily available proves invaluable if you need to make warranty claims or reference specific installation details in the future.
Step 5: Connect power for electric models and test the operation
If you’ve chosen a motorised retractable awning, connecting the power supply correctly is absolutely critical for safety and functionality. This step requires care and attention, as electrical mistakes create serious hazards including electric shock, fire risk, or permanent damage to the motor and control systems. Before you begin, ensure the main power supply to your installation area is switched off at the circuit breaker. Double check this by attempting to use a nearby light switch or outlet to confirm power is genuinely disconnected. Working with live electricity is genuinely dangerous, so take no shortcuts here. Locate your awning’s power cable and identify the three core wires inside the sheathing, typically coloured brown for live, blue for neutral, and green or green and yellow striped for earth. These colour codes must match your installation location’s electrical standards. If you’re uncertain about electrical connections, stop immediately and contact a qualified electrician rather than guessing. Most awning manufacturers recommend professional electrical installation, and there’s absolutely no shame in bringing in an expert for this critical component.
If you’re proceeding with the connection yourself, strip approximately 5 millimetres of insulation from each wire’s end and insert them into the appropriate terminals on your control unit or junction box. The live wire goes to the terminal marked L, neutral to N, and earth to the terminal marked with a ground symbol. Ensure connections are tight and secure with no exposed copper wire visible once tightened. Use a multimeter to test continuity before powering anything on, confirming your connections are correct and there are no breaks in the circuit. Only once you’ve verified everything is connected properly should you restore power at the circuit breaker. Some awnings include a safety disconnect switch that you’ll want to install in an accessible location, allowing you to quickly cut power in an emergency. This switch should be within arm’s reach and clearly labelled so anyone using the awning knows how to shut it off immediately if needed. Proper electrical connection prevents safety hazards that could otherwise create dangerous situations or damage expensive motor components irreparably.
Once power is restored, test the awning operation carefully using the control system. Start with short extension movements to confirm the motor engages smoothly without grinding noises or resistance. The awning should extend and retract at a steady speed, responding promptly to control inputs. Test the limit switches that stop the awning at full extension and full retraction, ensuring it stops precisely at the correct positions rather than continuing to push against the limits. If your awning includes additional features like wind sensors or sun sensors, test these to confirm they’re responding appropriately. Most motorised awnings include a manual override system for emergencies, so locate this and test it briefly to ensure it works if the motor ever fails. Document everything in writing, noting which direction extends the awning, how long full extension takes, and any quirks or unusual behaviours you’ve observed. This record proves invaluable if you ever need to troubleshoot issues or explain the system to someone else using your awning.
Pro tip: Label your control buttons clearly with waterproof tape indicating extend and retract directions, and keep the control system’s user manual stored in a waterproof container near your awning so you can quickly reference operating instructions or troubleshoot problems without hunting through your house.
Step 6: Inspect fitting and ensure optimal performance
With your awning installed and operational, taking time to inspect everything thoroughly ensures it performs reliably for years to come. This inspection phase catches minor issues before they escalate into expensive problems, and it gives you confidence that your installation is genuinely safe and secure. Start by examining all visible fasteners, bolts, and brackets from ground level, checking that nothing has worked loose during testing or initial use. Look for gaps between brackets and the wall, which indicate either poor bracket contact or wall movement. Small gaps under 2 millimetres are typically acceptable, but anything larger suggests your mounting surface may have issues. Check the awning fabric for any tears, fraying, or damage that might have occurred during installation. Walk around the entire perimeter and inspect both the top and bottom surfaces, as damage can be subtle and easy to miss from one angle. If you spot any tears or worn areas, contact your supplier immediately about repair or replacement options, as fabric damage typically worsens rapidly when exposed to weather and wind.
Test the awning’s movement multiple times through its full extension and retraction cycle, listening carefully for grinding noises, squeaking, or resistance that shouldn’t be there. Smooth, quiet operation indicates everything is functioning correctly. If you hear unusual sounds, note exactly when they occur during the extension or retraction process, as this helps diagnose the problem. Check that the fabric tension is even across the entire width with no sagging or bulges, which suggest uneven support or bracket problems. Examine the arms or support mechanism if your awning has exposed components, ensuring nothing is bent, twisted, or misaligned. Look at the roller mechanism at the base of the fabric, confirming it rotates smoothly without sticking or binding. If you spot any issues here, they typically require specialist attention, so photograph the problem area and contact your supplier for guidance. Test the awning in various weather conditions, extending it during light winds and observing how it performs. Wind behaviour varies throughout your garden, so test from different positions to understand how exposed your installation actually is. Optimal awning performance depends on proper installation and regular maintenance throughout its lifespan, keeping your investment working beautifully season after season.
Check all electrical connections one final time if you’ve installed a motorised model, looking for any signs of corrosion, loose wires, or water ingress around connection points. Electrical safety should never be compromised, so if you spot anything concerning, switch off power immediately and contact a qualified electrician. Create a simple maintenance log where you record the date of your inspection, any observations you’ve made, and any issues you’ve identified. This log becomes invaluable documentation if you ever need to make warranty claims or troubleshoot future problems. Finally, stand back and admire your work. You’ve successfully transformed your outdoor space with a professional quality installation that enhances both functionality and aesthetics.
Pro tip: Schedule a formal inspection six months after installation and annually thereafter, creating a written record of any observations so you can spot developing issues early and address them before they become serious problems requiring expensive repairs.
This summary highlights essential inspection points for optimal awning performance:
Inspection Aspect | What to Look For | Why It Matters |
Fastener Security | Tight bolts, minimal gaps | Prevents structural failure |
Fabric Condition | No tears or fraying | Maintains weather protection |
Smooth Mechanism Operation | No grinding or sticking sounds | Ensures reliable use |
Even Fabric Tension | No sagging or bulges | Avoids uneven wear |
Electrical Safety | No loose wires or corrosion | Prevents electric hazards |
Enhance Your Outdoor Living with Expert Retractable Awning Installation
Installing a retractable awning involves careful planning to address challenges such as selecting the right awning type, securing mounting points, and ensuring safe electrical connections. You want an outdoor space that not only provides reliable shade and protection but also complements your home’s style and withstands Yorkshire’s variable weather. At Infinity Awnings, we understand these concerns and offer tailored, high-quality solutions including manual and electric awnings with durable fabrics and robust mounting systems designed to meet your specific needs.
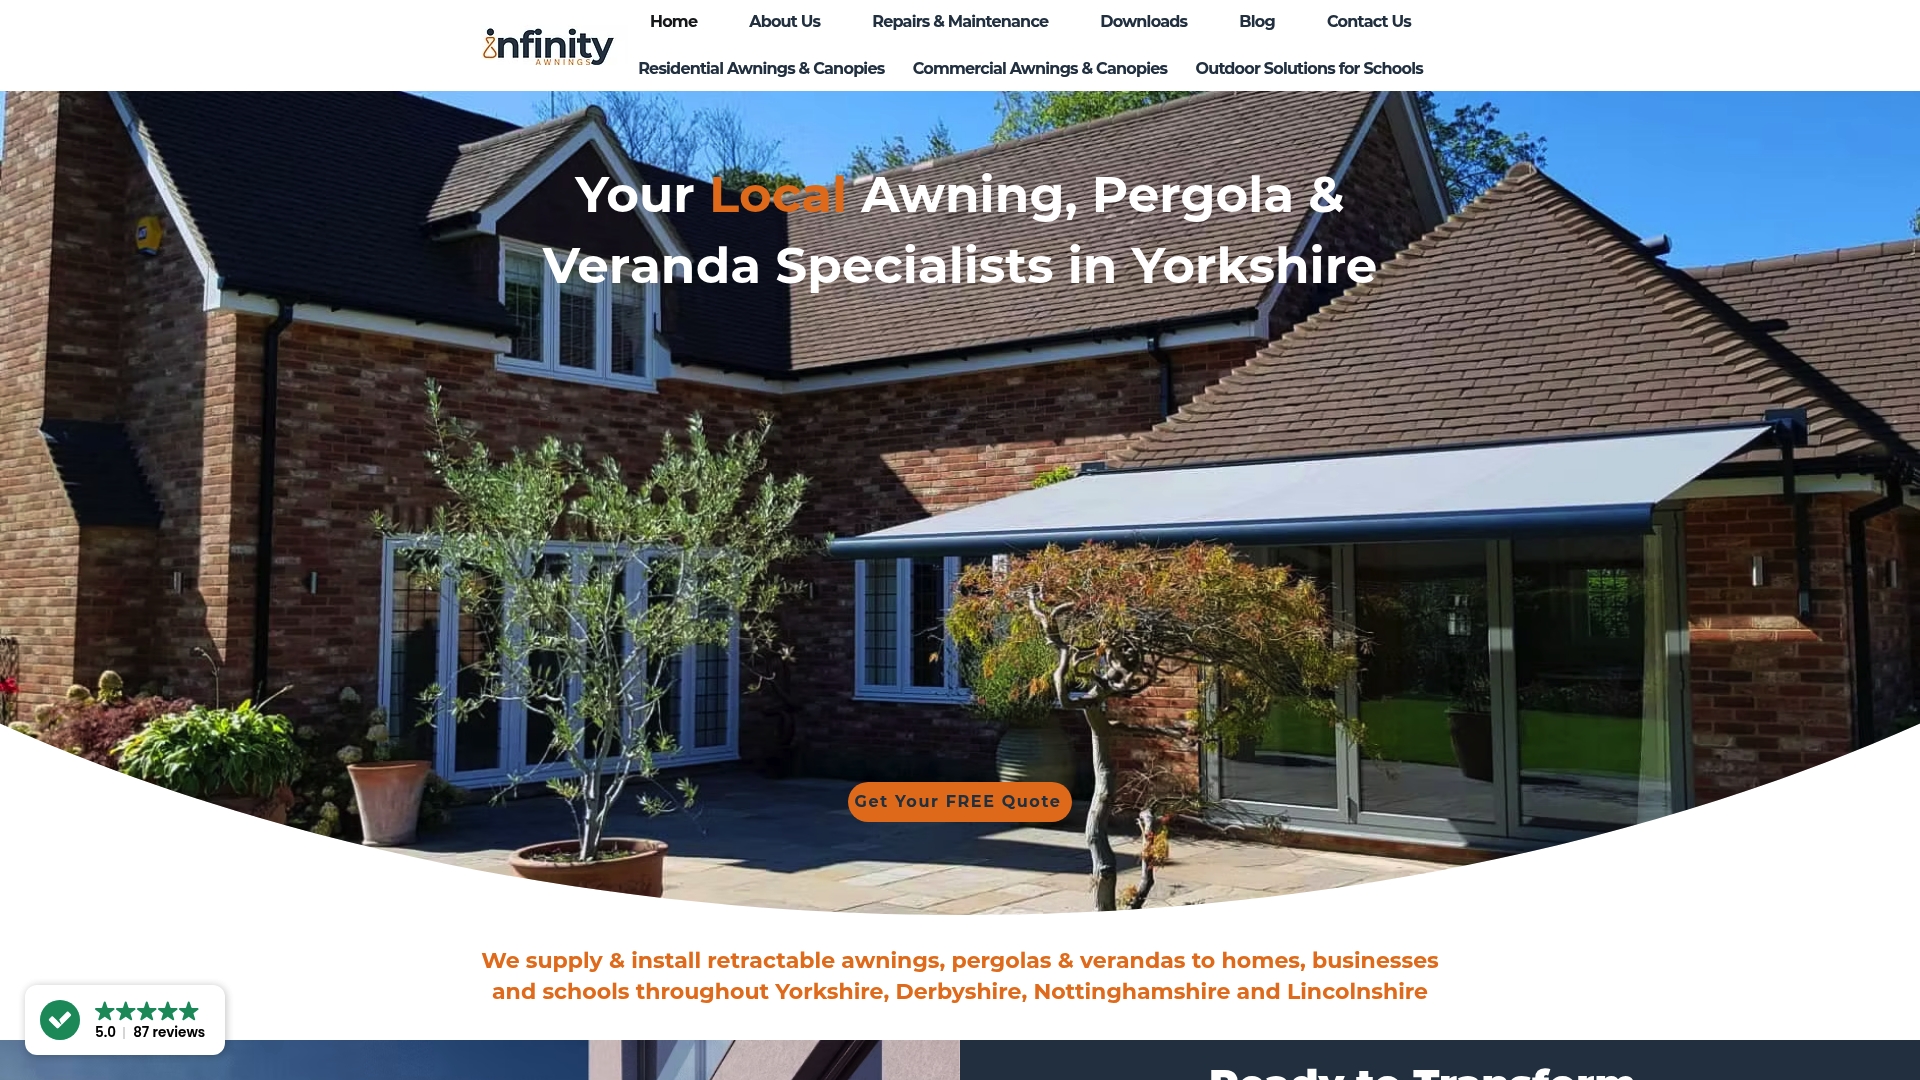
Ready to transform your outdoor area with a stylish, functional retractable awning installed by seasoned professionals with over 15 years of experience? Visit Infinity Awnings today to explore our wide range of options from top brands like Weinor and Selt. Take advantage of our expert guidance and request your free quote now. Discover how easy it is to create comfortable, weatherproof outdoor living by trusting our awning installation services and comprehensive shading solutions. Your perfect outdoor retreat is just a click away.
Frequently Asked Questions
How do I assess my outdoor space before installing a retractable awning?
To assess your outdoor space, observe it at different times of the day to understand sun exposure, wind patterns, and any obstacles. Take detailed measurements of the area where you want the awning installed, noting any potential interferences, such as downpipes or existing structures.
What tools do I need to install a retractable awning?
You will need basic hand tools such as a drill, spirit level, tape measure, and a screwdriver set, along with a ladder or scaffolding for height access. Gather all materials and tools beforehand to ensure a smooth and efficient installation process.
How do I mark and drill secure mounting points for my awning?
Start by marking the mounting positions using a spirit level to ensure they are perfectly horizontal. Drill carefully into solid sections of the wall, using the appropriate drill bits for your specific wall type, to avoid damaging the structure.
What should I check after installing my retractable awning?
After installation, inspect all visible fasteners and brackets to ensure they are tight and secure. Test the awning’s extension and retraction a few times, listening for any unusual noises, and ensure the fabric tension appears even across its width.
How do I connect power for an electric retractable awning?
Switch off the main power supply at the circuit breaker before proceeding. Follow the colour-coded wiring inside the awning’s power cable to connect the live, neutral, and earth wires securely, ensuring no exposed copper is visible and that all connections are tight.
How often should I inspect my installed retractable awning?
Schedule an inspection six months after installation and then annually thereafter. Regular inspections help you catch minor issues early, ensuring optimal performance and maintaining your awning’s longevity.
Recommended

Comments