
Pergola orientation: how to face yours for the best results
- Andrew Crookes

- 10 minutes ago
- 12 min read
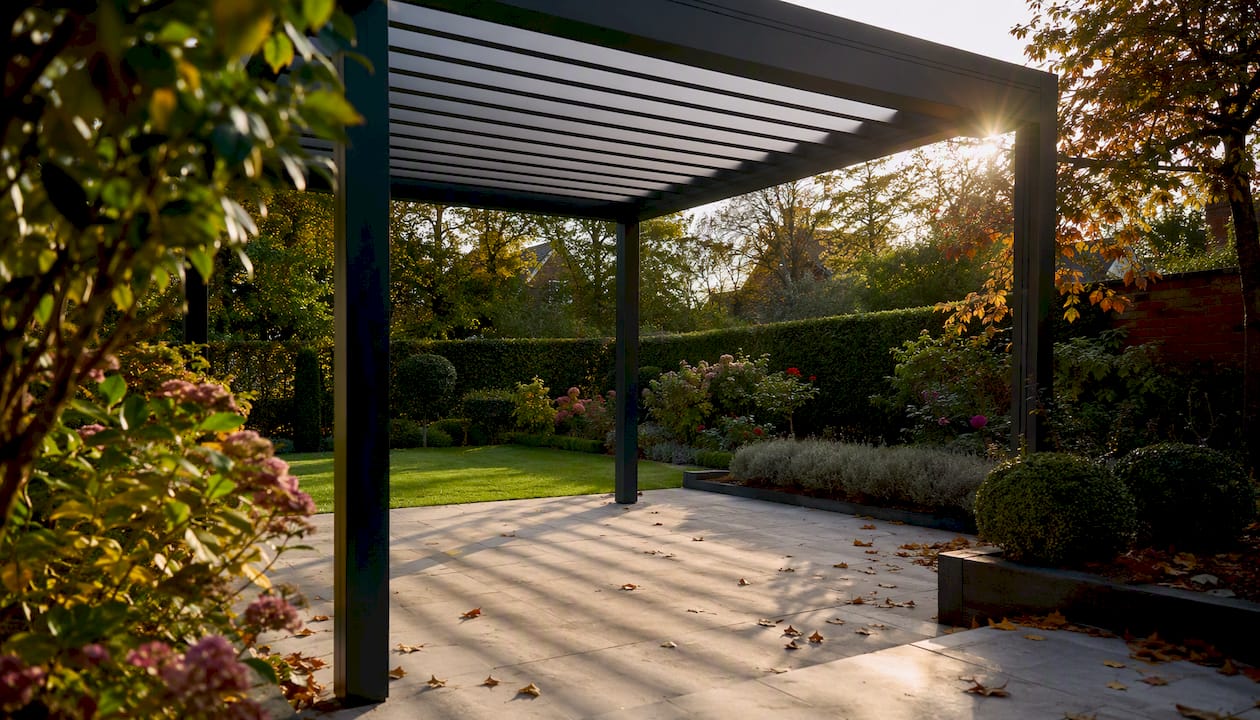
For most UK gardens, a south-facing pergola is the default recommendation. It captures the most daylight across the day and gives you the longest usable season. The exception is if you mainly use your garden in the evenings, in which case west-facing wins outright.
The reason comes down to simple solar geometry. At UK latitudes, the sun travels through the southern half of the sky from sunrise to sunset, never reaching directly overhead. A south-facing opening therefore catches the arc of the sun at its highest and most useful. A west-facing pergola catches the lower, warmer afternoon and evening light that most people actually sit in after work.
Three situations where the default changes:
Evening use: If you eat outside after 5 PM, face the pergola west. South-facing structures are in shade by late afternoon in autumn and winter.
Winter warmth: A south-facing lean-to against the house wall captures low winter sun and benefits from the thermal mass of the building behind it.
Privacy: If a south-facing position puts you in direct sightline of neighbours, a north or east-facing spot with a solid or louvred roof may serve you better than chasing the sun.
Pro Tip: Before committing to any orientation, stand in your garden at the time you most often use it, note where the sun is, and face that direction. No compass app or solar chart beats five minutes of observation on a clear day.
Key takeaways
South-facing is the best default pergola orientation for UK gardens, but west-facing, slat direction, and adjustable roofing are what make the difference in practice.
Point | Details |
Default orientation | South-facing suits most UK gardens for daytime use and the longest season. |
Evening use exception | West-facing captures the low afternoon and evening sun that south-facing misses after 3 PM. |
Slat direction | East-to-west slats block midday sun; north-to-south slats let more light through for evening positions. |
Planning checks | Structures within 2 metres of a boundary must not exceed 2.5 metres in height under permitted development rules. |
Infinityawnings survey | A free site survey from Infinityawnings covers shadow mapping, boundary checks, and roof recommendations for your specific plot. |
Table of Contents
How the sun moves across UK skies and why it shapes your pergola
Which way should a pergola face depending on how you use it?
Wind, views, drainage and other factors that shift the ideal position
UK planning rules and how far from the house you can place a pergola
Why “how you use it” matters more than perfect solar alignment
Infinityawnings can help you get the orientation right from the start
How the sun moves across UK skies and why it shapes your pergola
The sun rises roughly in the east and sets roughly in the west, but in the UK it never climbs to a point directly overhead. At solar noon in midsummer, the sun sits at around 60 degrees above the horizon in southern England and closer to 55 degrees in Yorkshire. In midwinter, that drops to roughly 15–17 degrees, meaning the sun skims low across the southern sky and casts very long shadows.
That seasonal shift has a direct consequence for shade. A pergola with open slats that gives deep shade in July may let almost full sunlight through in December, because the low winter sun slips under the rafters at a completely different angle. Conversely, a structure that feels pleasantly dappled in March can become a sun trap by June.
A quick site check takes ten minutes. Visit your garden at three points in the day: mid-morning (around 10 AM), solar noon (roughly 1 PM in British Summer Time), and late afternoon (around 4–5 PM). Mark where the shadows fall from your house, fences, and any trees. Those shadow lines tell you more about your actual pergola sun direction than any online calculator.
Pro Tip: Do the shadow check in late April or early September, when the sun angle is close to the UK seasonal average. Midsummer checks flatter every position; midwinter checks make everything look gloomy. The shoulder seasons give you the most honest picture.
Which way should a pergola face depending on how you use it?
The honest answer is that the best pergola position depends on what you do in it, not on what looks best on a plan. Practical UK guidance consistently links orientation to intended use, and that framing is the right one.
Daytime shade (lunchtime dining, home working outside) Face the pergola south and run the slats east-to-west so they block the high midday sun. This gives maximum shade between 11 AM and 2 PM, which is exactly when UV is strongest. The trade-off is that mornings and evenings feel more open.
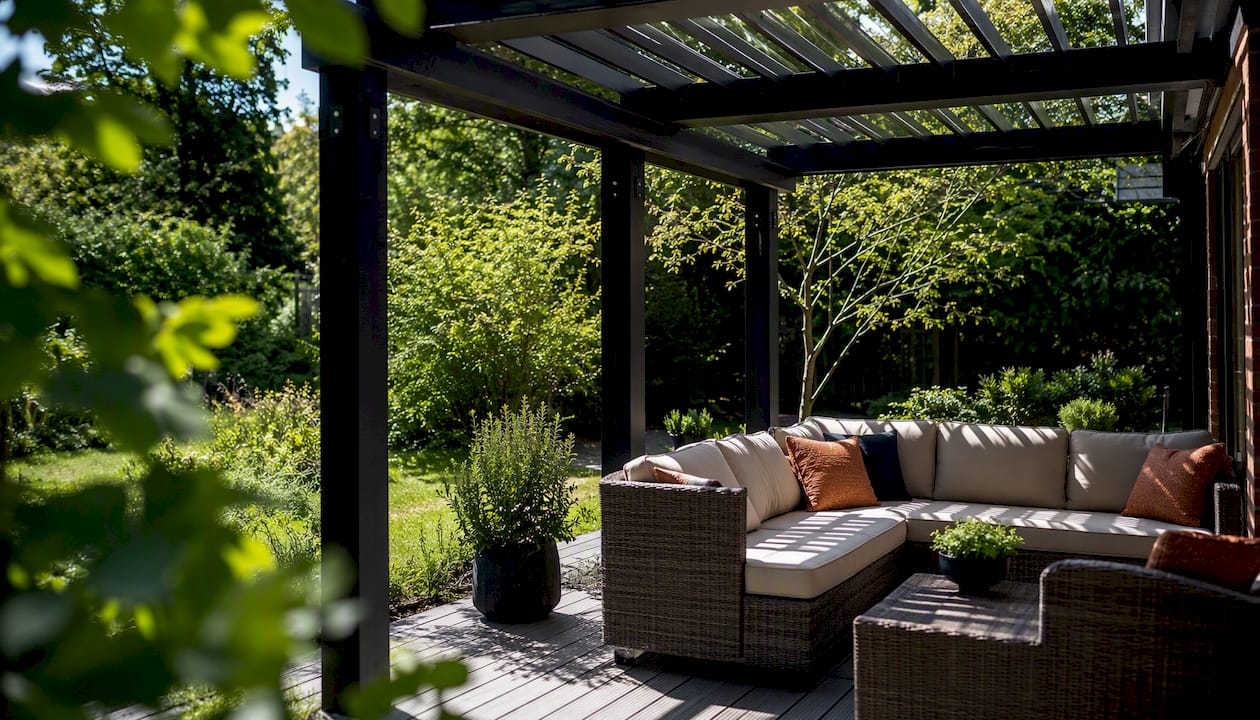
Evening sun (after-work dining, weekend entertaining) West-facing is the clear winner. The sun drops toward the western horizon from around 3 PM onwards, flooding a west-facing pergola with warm, low light. A south-facing structure is already in the shadow of the house or its own roof by that point in many gardens.
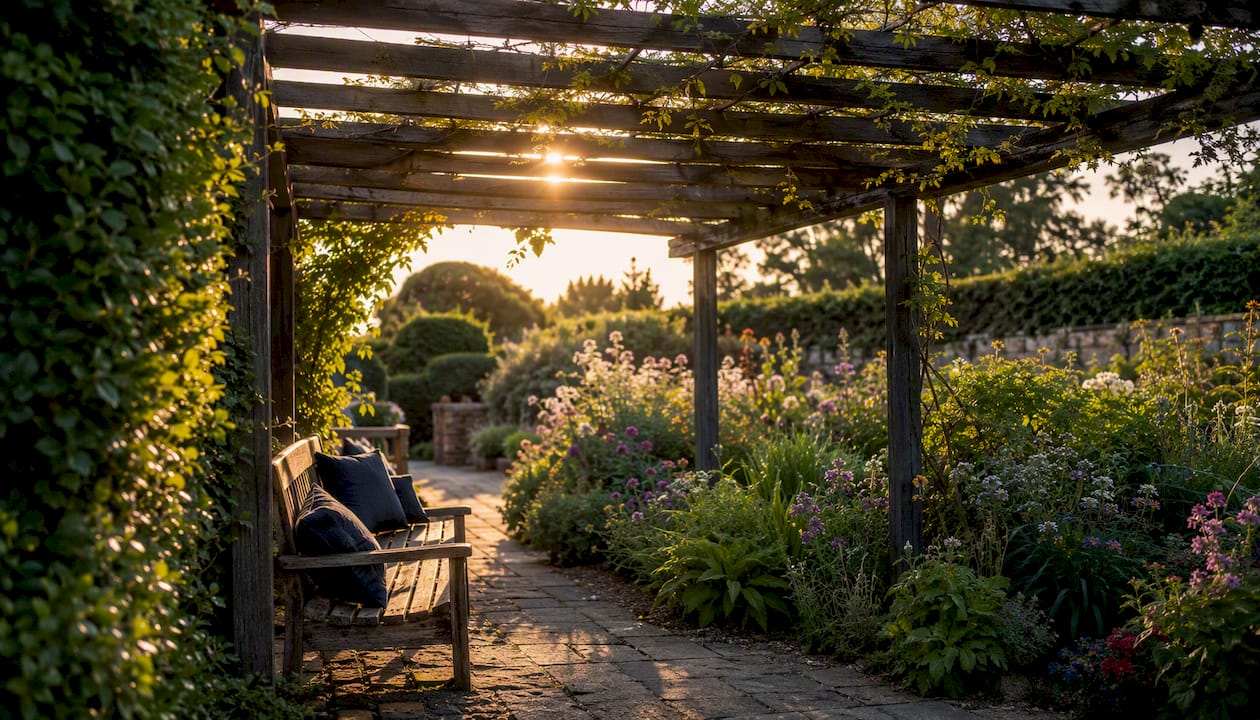
All-day sun (sunbathing, a garden room that doubles as a studio) South-facing with a retractable or louvred roof gives you the most flexibility. You can open the roof to let sun in during cooler months and close it for shade in summer. A retractable pergola makes this genuinely practical rather than theoretical.
Winter warmth A south-facing lean-to against the house is the most effective configuration. The wall stores heat, the low winter sun angles directly into the structure, and you get shelter from the north and east winds that dominate UK winters.
Privacy from neighbours This often forces a north or east-facing position. North-facing pergolas receive little direct sun, so they need a solid or louvred roof rather than open slats to be comfortable. East-facing structures get pleasant morning light and are naturally shaded by afternoon, which suits a breakfast spot or a reading corner.
A quick summary of the main compass options:
South-facing: Maximum sun exposure, longest season, best for daytime use. Can overheat in midsummer without shade control.
West-facing: Best for evening use and late-afternoon warmth. Morning shade may feel cool.
East-facing: Good for morning use; naturally shaded by afternoon. Suits quieter, more sheltered spots.
North-facing: The Least direct sun. Needs a solid roof and good lighting to be comfortable. Works when privacy or sightlines force the choice.
Pro Tip: If your garden is long and narrow running north-to-south, a pergola at the far end facing back toward the house (north-facing structure, south-facing opening) can catch reflected light from the house wall and feel brighter than you’d expect.
How slat and louvre direction controls shade and light
The direction your slats or rafters run is almost as important as which compass point the pergola faces. Shading guidance from Modern Shade sets out the core rule: a north-to-south rafter orientation lets more direct sunlight through across the day, while east-to-west rafters block the high midday sun more effectively and give better shade in the morning and late afternoon.
For a south-facing pergola aimed at daytime shade, run the rafters east-to-west. For a west-facing pergola where you want evening light to filter through rather than be blocked, run them north-to-south.
Angling fixed slats toward the equator (tilting them to face south at roughly 30–45 degrees from horizontal) increases usable shade significantly compared with horizontal slats at the same spacing. This is the principle behind bioclimatic louvre systems, which take it further by making the angle adjustable.
Spacing matters too. Closer spacing increases shade but reduces airflow and can make the structure feel heavy. Wider spacing lets more light through but reduces shade cover.
Slat spacing | Approximate shade cover | Best suited to |
50 mm gaps | High shade, low airflow | Hot south-facing positions |
— | Moderate shade and light | General use, mixed conditions |
— | Open, dappled light | East or west-facing, evening use |
Adjustable louvre systems change the calculation entirely. Because the angle rotates, the direction the rafters run matters less. You can close the louvres to 90 degrees for full shade or open them flat for maximum light, regardless of compass orientation. Pergola roofing options including fixed, retractable, and louvred configurations each interact with orientation differently, and choosing the roof type before finalising the orientation often leads to a better outcome.
Fixed slats: direction and spacing are permanent decisions. Get them right at the design stage.
Retractable fabric roofs: orientation matters for rain runoff angle; shade is controlled by opening and closing.
Bioclimatic louvres: the most forgiving of a non-ideal orientation because you adjust the angle to suit the sun.
Pro Tip: Ask your installer to show you the shadow pattern at your specific latitude for the slat spacing they propose. A quick sketch or digital model takes minutes and prevents a costly mistake.
Wind, views, drainage and other factors that shift the ideal position
Sun path is the headline factor, but it is rarely the only one. UK pergola guides consistently flag wind exposure as a comfort issue that homeowners underestimate until the structure is built. The UK’s prevailing wind comes from the south-west, which means a south-west-facing open pergola in an exposed garden can be uncomfortable even on warm days.
Practical checks before fixing orientation:
Wind shelter: Identify which walls, fences, or hedges already break the prevailing wind. Siting the pergola in their lee often matters more for comfort than gaining an extra hour of sun.
Views and sightlines: Face the pergola toward the best view in the garden, whether that is a planted border, a lawn, or a focal point. A pergola you enjoy looking out from gets used far more than one positioned purely for solar gain.
Neighbour privacy: A pergola that faces directly into a neighbour’s window or garden creates awkwardness. Rotating the orientation or adding side screens resolves this without sacrificing the structure.
Ground slope and drainage: A sloping site may dictate which way the roof pitches for rainwater runoff. The low end of the slope should drain away from the house and any seating area.
Patio doors and access: The pergola should align with the main access point from the house. A structure that requires walking around the building to reach it gets used far less, regardless of how well it is oriented for the sun.
For gardens where solar gain through glazed patio doors is also a concern, tinting glass patio doors is a complementary measure worth considering alongside pergola placement.
Pro Tip: Stand at your kitchen or living-room door and look out. The pergola should feel like a natural extension of that view, not an obstacle to it. If you have to crane your neck to see it, it is in the wrong place.
UK planning rules and how far from the house you can place a pergola
Most pergolas fall under permitted development, meaning you do not need planning permission, provided they meet the size and siting conditions. The Planning Portal’s outbuildings guidance sets the key limits: a structure within 2 metres of a boundary must not exceed 2.5 metres in height, and any raised platform must not exceed 0.3 metres.
The Gov covers the full set of conditions under Classes A to E of Part 1 of Schedule 2 to the Town and Country Planning (General Permitted Development) (England) Order 2015. For borderline cases, the statutory wording is the definitive reference.
Key practical steps before placing a pergola:
Check whether your property is listed or in a designated area (conservation area, Area of Outstanding Natural Beauty, National Park). Permitted development rights are restricted or removed in these cases, and you will likely need a formal application.
Measure the distance from the proposed structure to the nearest boundary. If it is under 2 metres, the 2.5-metre height cap applies to the whole structure.
Calculate the footprint. Outbuildings in total must not exceed 50% of the curtilage of the original house. A large pergola combined with an existing shed or garage may push you over that limit.
Check the Planning Portal’s interactive tool at planningportal.co.uk before speaking to your local planning authority, as it gives a quick steer on whether permission is likely to be needed.
Placement relative to the house also affects orientation choices. A pergola attached to or immediately adjacent to the house (a patio extension) is constrained by the house’s own orientation. A freestanding garden destination can be positioned and rotated independently, giving you more freedom to optimise for sun, wind, and views. Landscape architects note that patio-extension pergolas tend to see more frequent use for dining than standalone structures placed at the far end of the garden.
Common pergola orientation mistakes and how to avoid them
Most orientation errors come from planning on paper rather than on site. These are the ones that come up repeatedly:
Ignoring seasonal sun angles. A position that feels perfect in July can be cold and shaded by October. Always check the shadow pattern in spring and autumn, not just midsummer.
Underestimating wind. A south-west-facing pergola in an exposed Yorkshire garden can be unusable on breezy days. Check the prevailing wind direction and identify shelter before fixing the orientation.
Running slats in the wrong direction. East-to-west slats on a west-facing pergola block the evening sun you positioned the structure to catch. Match slat direction to the sun angle you want to manage.
Poor access from the house. A pergola that is awkward to reach from the kitchen or living room gets used far less, regardless of its solar position.
Forgetting about electric cable runs. If you want lighting, heaters, or a motorised louvre roof, the cable route from the house affects where the structure can practically go.
Skipping the planning check. Assuming permitted development applies without checking the boundary distance, height, and footprint limits is a common and avoidable mistake.
On-site checklist before confirming orientation:
Mark the proposed footprint with canes or string and observe shadows at 10 AM, 1 PM, and 4 PM.
Stand inside the marked area and check sightlines to neighbours and the best garden views.
Identify the prevailing wind direction and note any existing shelter.
Measure the distance from the nearest boundary and check the height of the proposed structure.
Confirm the access route from the house is direct and practical.
Check whether the property is listed or in a designated area before proceeding.
Pro Tip: Take photos of the marked-out area from inside the house. You will refer to them repeatedly during the design conversation with your installer, and they are far more useful than a sketch on paper.
What Infinityawnings checks on every site survey
A site survey done properly takes the guesswork out of orientation. The Infinityawnings team carries out a structured assessment on every visit, covering the points that most homeowners miss when planning independently.
The survey checklist includes:
Compass orientation of the proposed site and the house wall it relates to.
Shadow mapping at the client’s typical use times, not just solar noon.
Prevailing wind assessment and identification of existing shelter.
Boundary distances and height measurements against permitted development limits.
Cable run options for electric operation, LED lighting, and heaters.
Ground level and drainage direction for roof pitch planning.
Sightline check from the main access point and from inside the house.
Typical solutions from the survey stage include a lean-to pergola against a south-facing wall for clients who want winter warmth, a west-facing freestanding structure with adjustable side screens for evening entertaining, and a bioclimatic louvre roof where the garden orientation is fixed by the house layout and cannot be changed.
For design inspiration and examples of how orientation plays out in real installations, the pergola design ideas gallery shows a range of configurations across different garden types. The step-by-step setup workflow covers the full installation process from survey to completion.
Pro Tip: Ask your installer to photograph the shadow pattern during the survey visit. A photo taken at your typical use time is the single most useful document you can have when reviewing the final design.
Why “how you use it” matters more than perfect solar alignment
The solar azimuth is a useful starting point, not the answer. A pergola positioned at the theoretically optimal angle for a south-facing UK garden is only valuable if it is where you actually want to sit.
A patio-extension pergola attached to the kitchen door gets used for quick lunches, morning coffee, and impromptu evenings out. The orientation is largely set by the house, and the right response is to work with it using adjustable louvres or retractable screens rather than fighting it. A garden-destination pergola at the far end of the plot is a different decision entirely: you are choosing it deliberately, so the orientation can and should be optimised for the specific use you have in mind.
The practical implication is that two households with identical gardens can arrive at completely different correct answers. One family eats outside at 7 PM in summer; west-facing is obvious. Another uses the pergola as a shaded workspace from 10 AM to 2 PM; south-facing with east-to-west slats is the right call. Neither is wrong. The mistake is applying a generic rule to a specific habit.
If the orientation is genuinely constrained by the plot, an all-weather pergola with a bioclimatic louvre roof gives you enough control over light and shade to make almost any compass direction work comfortably across the seasons.
Infinityawnings can help you get the orientation right from the start
Getting pergola orientation right before installation saves money, frustration, and the very real possibility of a structure you rarely use. Infinityawnings offers a free site survey across Yorkshire, Derbyshire, Nottinghamshire, and Lincolnshire, covering shadow mapping, boundary checks, wind assessment, and a full review of roof and slat options suited to your specific position.
The survey includes a compass and shadow assessment at your typical use times, a review of permitted development limits for your plot, and a recommendation on roof type (fixed, retractable, or bioclimatic louvre) matched to your orientation. Product options from brands including Weinor, Tarasola, and Morvelle cover the full range from open timber rafters to fully motorised louvre systems with LED lighting and heaters.
Request a free site survey and get a written quote with orientation recommendations specific to your garden.
Sources
This article is general information, not a substitute for advice from a qualified lawyer. Consult a qualified legal professional about your own circumstances before acting on anything here.
Recommended
Comments