Step by step outdoor shelter: your complete DIY guide
- Andrew Crookes

- 1 hour ago
- 8 min read
TL;DR:
Building a well-constructed outdoor shelter enhances backyard usability and withstands UK weather. Proper planning, material selection, and sequencing are essential for long-lasting, weatherproof structures.
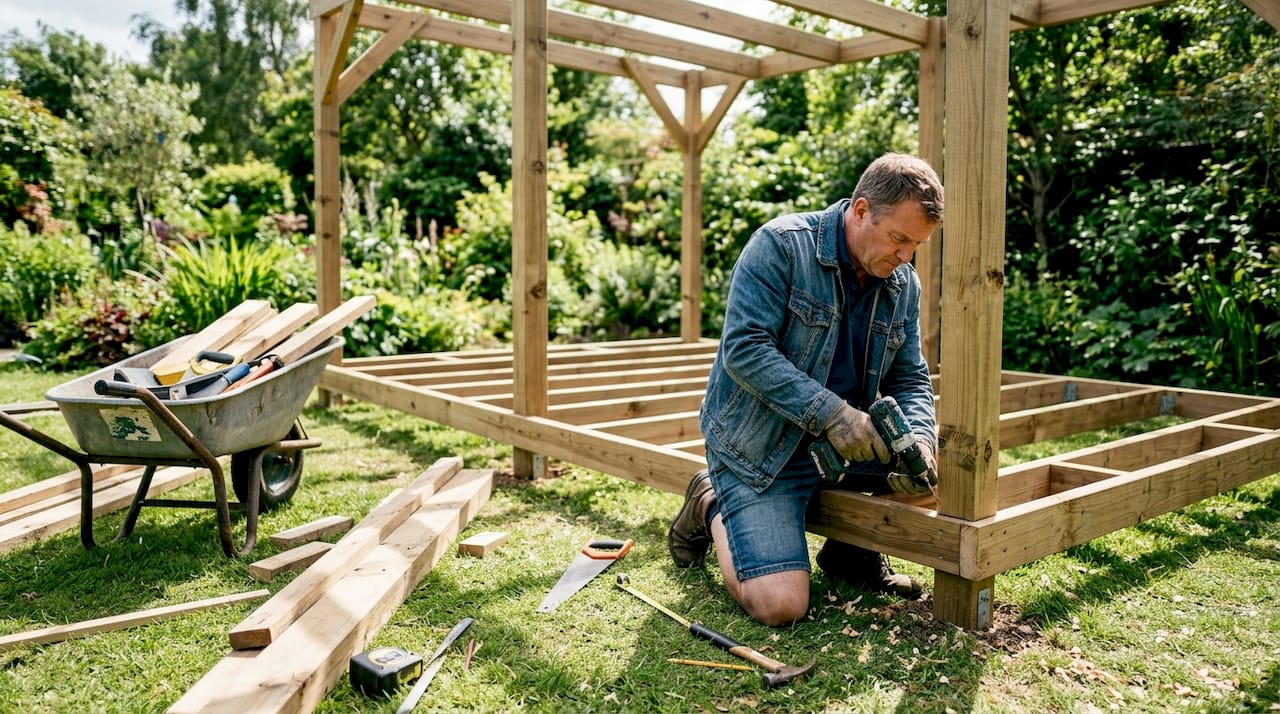
A well-built outdoor shelter transforms a bare backyard into a usable, comfortable space you can enjoy across every season. Following a step by step outdoor shelter process is the difference between a structure that lasts a decade and one that sags after the first winter storm. This guide covers everything from tools and materials to foundations, roofing, and finishing touches, with specific techniques drawn from established shelter building standards. Whether you are planning a permanent patio canopy or a simpler lean-to, the principles here apply directly to UK conditions and real backyard constraints.
What tools and materials do you need to build an outdoor shelter?
The right tools make every stage of construction faster and safer. Before buying a single plank of timber, gather the following:
Essential tools:
Tape measure, spirit level, and chalk line for accurate layout
Circular saw or hand saw for cutting timber to length
Cordless drill with wood bits and masonry bits
Post hole digger or auger for setting foundations
Hammer, mallet, and nail gun for framing and fixing
Safety goggles, work gloves, and steel-toed boots
Recommended materials for UK conditions:
Material | Best use | Key benefit |
Pressure-treated softwood | Posts, beams, rafters | Resists rot and insect damage |
Western red cedar | Cladding and decking | Naturally weather-resistant |
Galvanised steel fixings | All structural joints | Prevents rust in damp climates |
Polycarbonate roofing sheets | Roof covering | Lightweight, UV-resistant, translucent |
Bitumen felt or EPDM membrane | Flat or low-pitch roofs | Excellent waterproofing in heavy rain |
For UK weather, pressure-treated timber is the baseline choice. Untreated softwood begins to degrade within two to three seasons in a wet climate. Galvanised or stainless steel fixings prevent the rust staining that corrodes joints over time.

Choosing the right fabric for any roof covering or canopy layer follows the same logic: durability in rain and UV exposure matters far more than initial cost.
Pro Tip: If budget allows, consider reclaimed hardwood for visible beams. It adds character to the finished structure and, when sourced from a reputable salvage yard, performs as well as new timber. Using mismatched or poorly considered materials harms property value, while integrating reclaimed wood enhances garden appeal.
How to properly plan and prepare your outdoor shelter location?
Planning is the most overlooked phase of any shelter build. Measuring footprint, assessing weather patterns, and budgeting before buying materials prevents delays and structural failure. Skipping this stage is the single most common reason DIY shelters fail within the first year.
Follow these steps before breaking ground:
Measure your space. Mark the full footprint of the shelter using a tape measure. Permanent outdoor shelters require a minimum vertical headroom of 8 feet and must be designed to withstand wind loads up to 90 mph in many regions. That figure sets your post height and roof pitch from the start.
Assess the ground. Walk the site after heavy rain. Waterlogged or soft ground requires deeper footings or a gravel drainage layer beneath the base. Sloping ground needs levelling or stepped foundations to keep the frame plumb.
Check drainage. Water must run away from the structure, not pool beneath it. A gradient of at least 1:80 away from any wall or boundary keeps the base dry.
Apply the 3-4-5 rule. The 3-4-5 triangle rule is the standard method for checking frame squareness. Measure 3 feet along one side, 4 feet along the adjacent side, and confirm the diagonal measures exactly 5 feet. Misaligned frames cause gaps that affect waterproofing and aesthetics throughout the life of the structure.
Mark the layout. Drive timber stakes at each corner and run string lines between them. This gives you a physical reference for every post position before you dig.
Check planning permissions. In England and Wales, most garden structures under 2.5 metres in height and not forward of the principal elevation fall within permitted development rights. Structures exceeding these limits, or those on listed properties, require formal planning consent from your local authority.
Pro Tip: Photograph the site from multiple angles before you start. Those images become invaluable when you need to check post alignment mid-build or explain the layout to a building inspector.
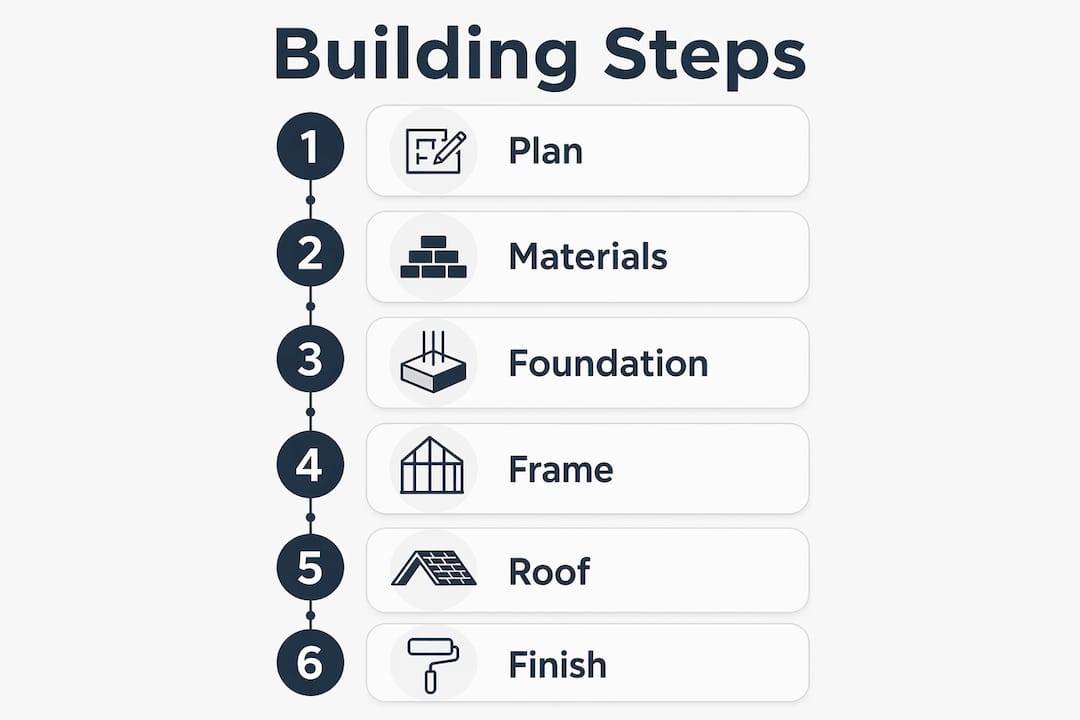
How to build a sturdy, weatherproof outdoor shelter step by step
This is the core of any outdoor shelter guide. Work through each stage in sequence and do not move to the next until the current one is complete and checked.
Dig and set footings. Dig post holes to a minimum depth of 600 mm (roughly 2 feet) in stable ground, deeper in soft or clay soils. Mix concrete to a 1:2:3 cement:sand:gravel ratio for durable footings. Pour into the hole, set the post or post base anchor, and check plumb with a spirit level. Allow 24–48 hours to cure before loading.
Erect the posts. Set posts vertically and brace them temporarily with diagonal timber props. Check plumb on two faces before the concrete fully sets. Posts for a standard garden shelter typically run at 100 mm x 100 mm section for spans up to 3 metres.
Fix the wall plates and beams. Bolt horizontal wall plates or ledger boards to any adjacent wall using expanding masonry anchors. Run the primary beams across the top of the posts, securing with galvanised post caps or through-bolts. For spans over 10 feet, sister the beams by doubling up the timber side by side. This prevents sagging under snow load or the weight of a roof covering.
Install the rafters. Space rafters at 400 mm or 600 mm centres depending on the roof material. Fix with joist hangers for a clean, strong connection. Cut bird’s mouth notches where rafters sit on the wall plate to prevent lateral movement.
Lay the roofing. Start from the lowest point and work upward. Roofing panels must overlap by 6–12 inches from the bottom row upwards to shed rain effectively and avoid leaks. For polycarbonate sheets, use the manufacturer’s specified closure strips at the ridge and eaves to block insects and wind-driven rain.
Secure against wind uplift. For open-sided shelters or tarp-based designs, secure guy lines at a 45-degree angle away from the structure. This resists wind uplift and prevents sagging that leads to water pooling and material degradation. For permanent structures, use hurricane ties or rafter anchors at every rafter-to-beam connection.
A basic lean-to frame can be assembled in approximately 15 minutes, with total construction time running between 45 and 90 minutes for a simple structure. A permanent garden shelter with concrete footings and a tiled roof realistically takes a full weekend for two people working steadily.
Pro Tip: Stage your materials on site the evening before each build day. Sorting timber lengths, pre-drilling fixings, and mixing a test batch of concrete the night before cuts wasted time and keeps momentum going.
For a detailed walkthrough of installation preparation that applies directly to shelter canopy work, the retractable awning installation guide from Infinityawnings covers site assessment and fixing methods worth reading alongside this process.
How to finish and maintain your outdoor shelter for lasting appeal?
Finishing work determines how the shelter looks and how long it lasts. Do not treat it as optional.
Apply a wood preservative or stain within 48 hours of completing the frame. Two coats of a UV-resistant exterior stain protect against greying, cracking, and moisture ingress. Reapply every two to three years.
Seal all end grain. End grain absorbs water faster than any other surface. A coat of end-grain sealer on every cut timber end prevents splitting during freeze-thaw cycles.
Inspect fixings annually. Check bolts, joist hangers, and post bases each spring. Tighten any loose fixings and replace any showing surface rust before it spreads to the timber.
Clear the roof after heavy snowfall. Snow load on a flat or low-pitch roof can exceed the design load of a lightweight structure. A soft broom clears it without scratching polycarbonate panels.
Winterise fabric elements. If the shelter includes a fabric canopy or side panels, remove them before the first hard frost. Store them clean and dry to prevent mould growth. Guidance on awning maintenance from Infinityawnings covers fabric care in detail.
Pro Tip: Paint or stain the timber before assembly where possible. Reaching the underside of a fixed beam with a brush is awkward. Pre-finishing saves hours and produces a more even result.
Design choices matter as much as maintenance. Well-chosen design elements balance form and function, avoiding mismatched materials, to enhance property and landscape value. Match the shelter’s stain colour to your existing fencing or decking for a cohesive garden look.
What I have learned from building outdoor shelters
Andrew’s perspective: I have watched a lot of DIY shelter projects go wrong at exactly the same point. Not during the build. During the planning. People spend a weekend buying materials and half an hour measuring. Then they wonder why the posts are not square or the roof sheds water onto the patio furniture.
The 3-4-5 rule sounds like a school geometry lesson, but it has saved more builds than any power tool I own. Spend ten minutes on it before you dig a single hole. You will not regret it.
The other thing I would say is this: do not underestimate UK weather. A structure that feels solid in july can flex alarmingly in a january gale. Design for the worst conditions your garden sees, not the average ones. Hurricane ties cost almost nothing and add genuine structural integrity.
Finally, the finishing stage is where most DIY builders lose interest. The frame is up, the roof is on, and the urge to call it done is strong. Resist it. A well-stained, properly sealed shelter will still look good in ten years. An unfinished one will look tired in two.
— Andrew
Pergolas and shelter solutions from Infinityawnings

Building your own shelter is genuinely satisfying, but some garden spaces call for a more refined solution. Infinityawnings designs and installs bespoke garden pergolas across Yorkshire, Derbyshire, Nottinghamshire, and Lincolnshire, combining the structural durability this guide describes with professional-grade materials from brands including Weinor, Tarasola, and Morvelle. Options include electric operation, integrated LED lighting, and side screens that adapt the space to any season. If your backyard shelter project has grown in ambition, or you simply want a finished result without the weekend labour, Infinityawnings offers free quotes and a downloadable guide to help you choose the right structure for your garden.
Key takeaways
A structurally sound outdoor shelter depends on thorough planning, correct material selection, and precise construction sequencing from footings to roof finish.
Point | Details |
Plan before you buy | Measure footprint, assess drainage, and check planning permissions before purchasing any materials. |
Use the 3-4-5 rule | Apply this triangle method at every corner to keep frames square and roofing watertight. |
Match materials to UK weather | Pressure-treated timber and galvanised fixings are the baseline for any structure exposed to British conditions. |
Sister beams for long spans | Any beam spanning more than 10 feet requires doubling up to prevent sagging under load. |
Finish and maintain annually | Apply stain within 48 hours of build completion and inspect fixings every spring to extend the shelter’s life. |
FAQ
What is the minimum height for a permanent outdoor shelter?
Permanent outdoor patio shelters require a minimum vertical headroom of 8 feet. This figure applies to most residential structures and affects post height and roof pitch calculations from the outset.
Do I need planning permission for a garden shelter in the UK?
Most garden shelters under 2.5 metres in height fall within permitted development rights in England and Wales. Structures exceeding this height, or those on listed or designated land, require formal planning consent from the local authority.
How do I stop my outdoor shelter roof from leaking?
Overlap roofing panels by 6–12 inches starting from the bottom row upwards. This is the most common failure point when neglected, and correct overlapping is the primary defence against water infiltration.
How long does it take to build a basic outdoor shelter?
A simple lean-to frame assembles in roughly 15 minutes, with total build time running between 45 and 90 minutes. A permanent structure with concrete footings and a fixed roof covering typically takes a full weekend for two people.
What concrete mix should I use for shelter footings?
Use a 1:2:3 ratio of cement, sand, and gravel for structural footings. This mix provides the compressive strength needed to support posts and resist ground movement through freeze-thaw cycles common in the UK.
Recommended
Comments