
Outdoor classroom setup process: a UK guide for schools

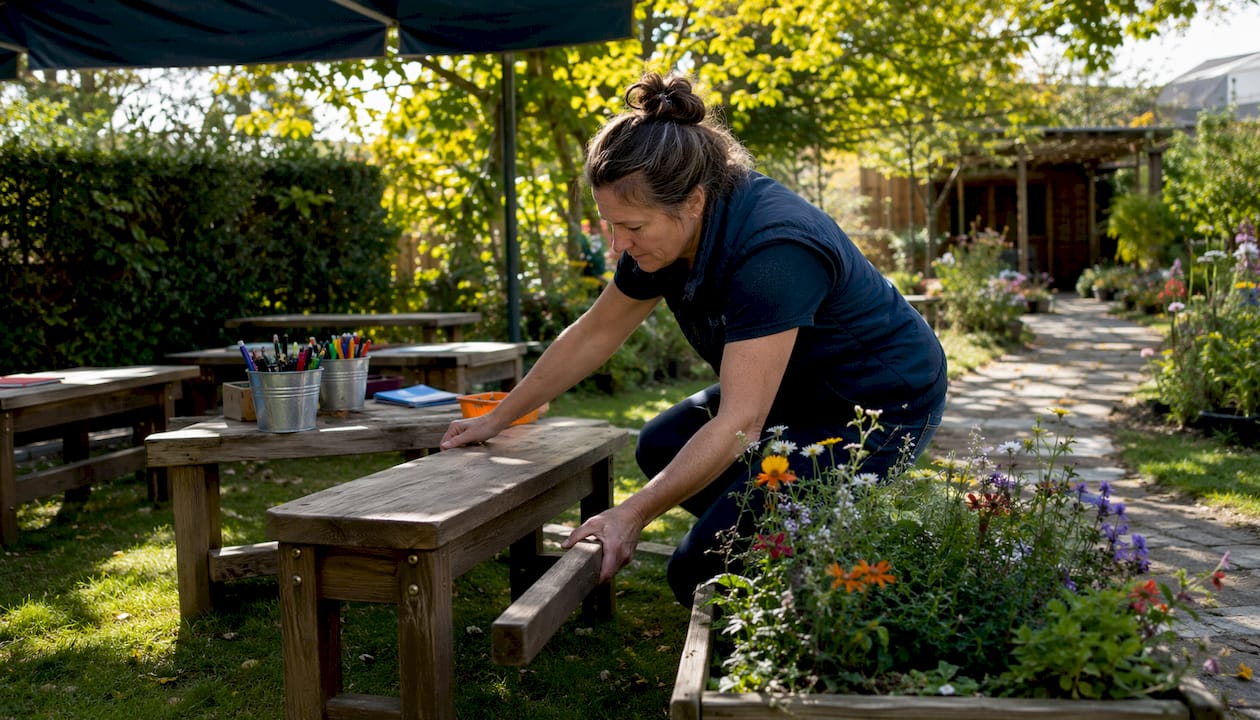
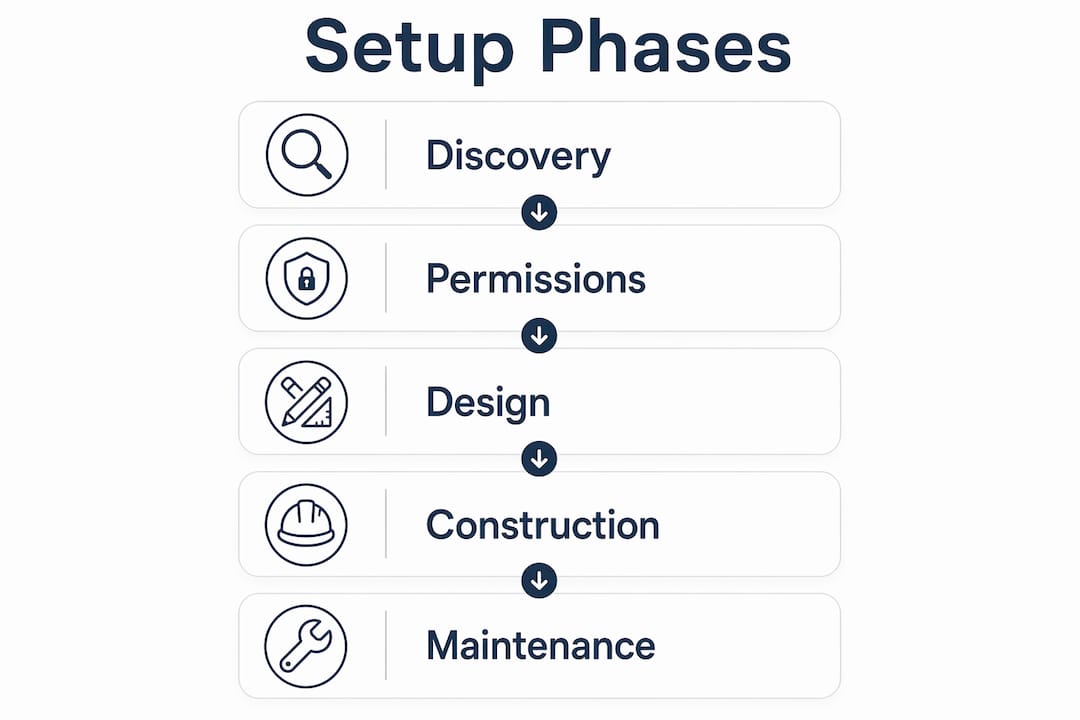
The outdoor classroom setup process works best as a structured four-stage journey: discovery, co-design, design implementation, and ongoing management. UK guidance from Learning through Landscapes recommends beginning with a thorough audit of your existing grounds and curriculum goals before a single spade breaks soil. Get that foundation right and everything else follows logically.
Here is what the full process involves at a glance:
Discovery: audit current outdoor use, map natural and built site features, review curriculum alignment
Co-design: involve pupils and staff in shaping the space to build ownership and relevance
Design implementation: apply flexible, partially sheltered design principles with accessibility built in
Management: create maintenance schedules, update risk assessments, and plan for seasonal care
How does the discovery phase set up your outdoor classroom for success?
The discovery phase is where most schools either gain momentum or lose it. UK educational landscape guides recommend drawing a base plan to scale as one of the first practical tasks, recording both natural features (slopes, mature trees, drainage channels) and built ones (paths, fencing, existing shelters). That map becomes your reference point for every decision that follows.
A site audit should answer three questions honestly:
How is the outdoor space currently being used, and by whom?
What curriculum goals could outdoor learning support, and where are the gaps?
What are the physical constraints, including drainage, access, and boundary distances?
Alongside the physical audit, form a small project team early. This group typically includes the headteacher or a senior leader, a class teacher with outdoor learning interest, a site manager, and ideally a governor. Their combined knowledge of budget cycles, safeguarding requirements, and day-to-day site logistics prevents expensive surprises later.
“Planning is vital to ensure you use existing resources effectively and that the changes you are making can meet the needs of your setting both now and in the future.” — Learning through Landscapes, First Steps Outdoors
Compliance awareness belongs in this phase too, not as an afterthought. Check whether your proposed location sits within a conservation area or near a listed building, as both trigger additional scrutiny from local planning authorities.
Why co-design with pupils produces better outdoor classrooms
Co-design is not a consultation exercise where children tick boxes. The Futurelab handbook on outdoor learning spaces makes the case clearly: placing learners at the centre of design decisions drives educational transformation rather than simple construction. When pupils help shape a space, they use it differently and care for it more.
Practical ways to involve pupils and staff:
Run mapping workshops where children annotate site photos with what they love, dislike, and wish existed
Use class discussions to link proposed zones to specific subjects (science garden, reading corner, mud kitchen)
Invite a small pupil group to present their ideas to the project team, giving them genuine influence over decisions
Ask teaching staff which curriculum areas are hardest to deliver indoors and design zones around those gaps
“Placing learners at the centre of learning space design, through a process of co-design, offers a unique chance to promote real participation and engagement.” — Futurelab, Reimagining Outdoor Learning Spaces
The organisational side matters as much as the creative side. Assign a named staff member to coordinate pupil input, document decisions, and feed back to children on what was adopted and why. That transparency is what turns a one-off workshop into genuine ownership.
What design principles make an outdoor classroom genuinely flexible?
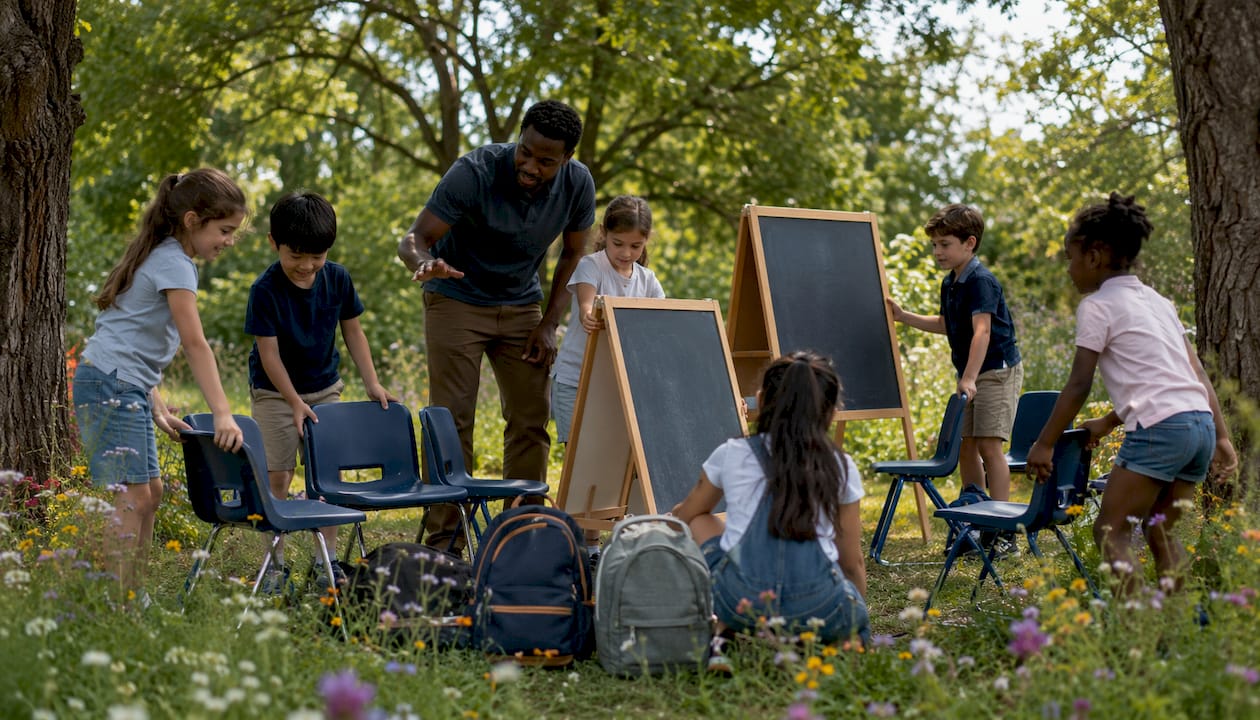
Flexibility is the single most important design principle, and it is frequently sacrificed for permanence. Design experts recommend avoiding fully enclosed rooms in favour of adaptable, partially sheltered spaces that can accommodate whole-class teaching, small group work, and independent exploration without reconfiguration.
Design element | Recommended approach |
Shelter | Partial cover (pergola, canopy, or retractable awning) rather than full enclosure |
Seating | Moveable or multi-use (log rounds, tiered grass banks, fold-flat benches) |
Surfaces | Mixed hard and soft: paved teaching area adjacent to planting or grass zones |
Sightlines | Open layout allowing staff supervision from multiple positions |
Accessibility | Step-free routes, firm surfaces, door widths suitable for wheelchairs |
Sunlight | South or south-west facing where possible to maximise usable days |
Accessibility cannot be retrofitted cheaply. Build step-free access, firm ground surfaces, and appropriate door widths into the original design. The Department for Education’s Early Years Design Guidance stresses that covered spaces must be large enough to accommodate a range of activities and constructed from durable materials to support year-round use.
Natural topography is an asset, not a problem. A gentle slope can become tiered seating for outdoor storytelling or science demonstrations without any earthworks. Mature trees provide shade and a sense of enclosure that no structure can replicate at the same cost.
How to choose the right location using your site’s natural features
Site selection is where good intentions meet physical reality. Primary school building guidance specifies that the outdoor classroom area should be partially paved and located in a sunny, quiet, sheltered position that is easily accessible from the main building, with sloping sites offering the opportunity to create a modest amphitheatre.
Site criterion | What to look for |
Sun exposure | South-facing aspect with minimal shadow from buildings or trees |
Noise | Away from busy roads, delivery areas, and sports pitches |
Drainage | Naturally draining ground or scope for a simple French drain |
Supervision | Clear sightlines from classroom windows and main entrance |
Boundary distance | Sufficient clearance to meet permitted development rules |
Access | Level or gently graded path from the main building |
Avoid locating the space where it becomes a thoroughfare. Heavy foot traffic through a teaching area disrupts lessons and accelerates surface wear. A transition zone between the building and the outdoor classroom, a small paved or decked area where children pause before moving into the learning space, reduces that problem considerably.
Drainage is the detail most schools underestimate. Pooling water after rain makes a space unusable for days and accelerates timber decay. A stable, compacted base with adequate falls costs relatively little at the build stage and saves significantly on repairs within the first few years.
What does a realistic outdoor classroom timeline look like?
Outdoor classroom development is a multi-year, evolving process rather than a single build event. Starting small and refining as you go is not a compromise; it is the recommended approach.
Initial months (Discovery and audit): site survey, curriculum review, project team formation, initial budget scoping
Early design phase (Co-design and brief): pupil and staff workshops, design brief drafted, outline costings agreed
Mid-phase (Permissions and procurement): pre-application enquiry submitted to local authority, suppliers approached, funding applications made
Construction phase (Build phase): groundworks, structure installation, surfacing, planting
Finalising phase (Commissioning): risk assessment updated, staff training, soft launch with one class
Ongoing development (Iteration): evaluate use, add resources, refine zones based on real experience
Phase | Key task |
Discovery | Site audit and curriculum mapping |
Permissions | Pre-application enquiry and response |
Procurement | Supplier selection and ordering |
Build | Groundworks and installation |
Commissioning | Risk assessment and staff briefing |
On permissions: many smaller timber structures qualify as permitted development under Class M of the Town and Country Planning (General Permitted Development) Order 2015, provided they meet criteria on size, height, and distance from boundaries. Rules differ across England, Scotland, Wales, and Northern Ireland, so always submit a pre-application enquiry to your local authority before ordering. That written advice protects you if questions arise later.
Budgeting should cover materials, groundworks, labour, and a maintenance reserve. Schools typically phase expenditure, beginning with the core structure and adding electrics, planting, or furniture in subsequent years as funding allows.
Expert advice from Infinityawnings on shading solutions for schools
Shading is the element that determines whether an outdoor classroom gets used in April or sits empty until June. Infinityawnings has over 15 years of experience designing and installing outdoor structures for educational settings across Yorkshire, Derbyshire, Nottinghamshire, and Lincolnshire, and the pattern is consistent: schools that invest in quality, weatherproof cover from the outset use their outdoor spaces far more frequently than those that retrofit shelter later.
Key considerations when selecting shading for a school outdoor classroom:
Retractable awnings offer maximum flexibility, providing full shade on hot days and open sky when teachers want natural light or weather observation
Pergolas create a defined, permanent teaching zone with a sense of enclosure that helps pupils focus, particularly for literacy and science activities
Treated timber frames with weatherproof finishes resist the UK climate without requiring annual maintenance contracts
Electric operation removes the friction of manual adjustment, meaning staff actually use the cover rather than leaving it retracted
Infinityawnings recommends products with weatherproof treated timbers, optional electric operation, and customisable features including LED lighting and heating elements, all of which extend the usable season well into autumn and winter. You can explore pergola options for schools that suit a range of budgets and site configurations.
Pro Tip: Design your shading structure with compliance in mind from day one. Lower ridge heights and natural timber finishes reduce visual impact and are more likely to fall within permitted development limits, saving you time and cost on the planning process.
For a broader view of what works in educational settings, Infinityawnings has published guidance on outdoor shelters for schools covering structure types, materials, and installation considerations.

Key takeaways
A well-executed outdoor classroom setup process follows a phased, evidence-based approach from site audit through co-design, compliant construction, and active maintenance planning.
Point | Details |
Start with discovery | Audit existing outdoor use and map natural site features before committing to any design. |
Co-design improves outcomes | Involving pupils and staff in planning builds ownership and produces spaces that match real curriculum needs. |
Flexibility beats permanence | Partially sheltered, adaptable spaces outperform fully enclosed rooms for varied learning activities. |
Check permissions early | Submit a pre-application enquiry to your local authority before ordering any structure. |
Plan maintenance from day one | Include a maintenance schedule and budget reserve in the original project plan to prevent premature deterioration. |
Recommended
Comments