Your complete veranda setup guide for 2026
- Andrew Crookes

- 16 hours ago
- 9 min read
TL;DR:
A well-designed veranda enhances a garden into a functional outdoor room, but proper planning and maintenance are essential. Homeowners must consider permits, suitable materials, and correct roof pitch to ensure waterproofing and structural safety. Adding weather management features and regular upkeep creates a comfortable, long-lasting space for year-round enjoyment.
A well-designed veranda transforms a plain garden into a genuine outdoor room. Yet most homeowners get stuck before the first post goes in the ground, unsure about planning permission, materials, or how to stop the roof leaking after the first heavy rain. This veranda setup guide covers everything you need: how to plan your build, what to expect during construction, how to make your veranda genuinely comfortable year-round, and how to keep it in good shape for years to come. Follow it carefully and you will avoid the most common and costly mistakes.
Table of Contents
Key takeaways
Point | Details |
Check permits before building | Planning rules depend on veranda size, height, and whether you add stairs or electrical fixtures. |
Roof pitch matters enormously | A minimum 5-degree roof pitch is non-negotiable for proper water drainage. |
Build for comfort, not just shelter | Airflow, shade, and lighting have more impact on day-to-day usability than furnishings or décor. |
Intermediate supports prevent sag | Polycarbonate roof panels need evenly spaced timber supports between rafters to stay rigid. |
Maintenance protects your investment | Regular timber treatment and roof seal checks extend veranda lifespan significantly. |
Planning your veranda: design, permits, and materials
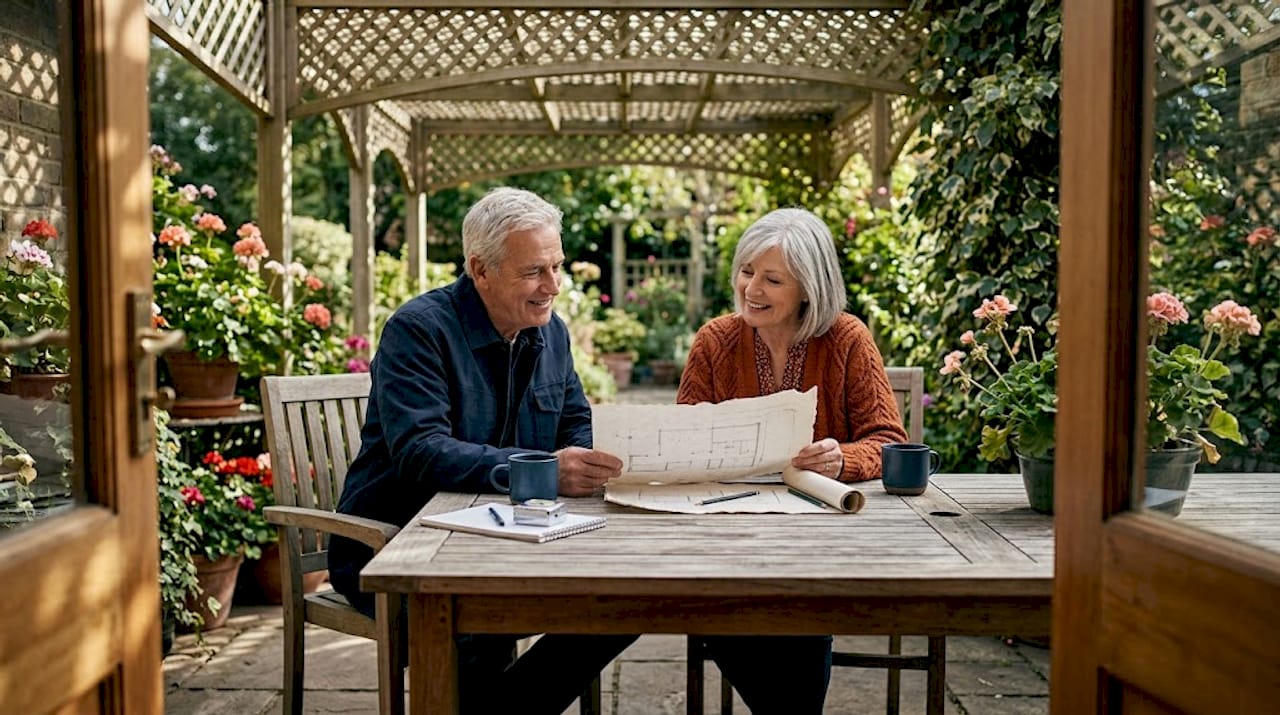
Before you order a single piece of timber, sit down with a tape measure and a notebook. The decisions you make at the planning stage will shape every hour of building work and every afternoon you spend out there afterwards.
Getting the size and layout right
Start by measuring the wall of the house your veranda will sit against. Consider how the sun tracks across that side of the property throughout the day. A south-facing veranda in Yorkshire will get strong afternoon sun but brutal westerly rain. An east-facing structure catches morning light but stays cool by midday. Think about how you will use the space: dining for six, a reading corner, or a utility covered area for bikes and muddy boots? Each purpose points to a different size and layout.
A useful rule of thumb is to allow at least 2.5 metres of depth so chairs can be pulled back from a table without stepping off the edge. Width should follow the wall it attaches to, leaving clearance from windows and doors.
Permits and planning permission
This is where many homeowners get unstuck. Permitted development rules in the UK mean that small, open verandas often do not require formal planning permission. However, if your structure is larger, enclosed, or sits within a conservation area, you will need to apply. In other regions, the threshold can be even more specific: permits are required for covered structures over 200 square feet, those exceeding 12 feet in height, or any design that incorporates stairs, electrical wiring, or plumbing. The key insight here is that it is the structural details, not the name “veranda”, that trigger the requirement. Confirm your local rules before you buy materials.
Choosing the right materials
The frame and roof are your two biggest decisions. Here is a quick comparison of the most popular options:
Material | Pros | Cons |
Pressure-treated softwood | Affordable, widely available, easy to cut | Needs regular treatment to resist rot |
Hardwood (e.g. oak or iroko) | Durable, attractive grain, lower maintenance | Higher cost, heavier to work with |
Powder-coated aluminium | Rust-proof, minimal maintenance | Less warm aesthetically, harder to modify |
Polycarbonate roof panels | Lightweight, translucent, affordable | Can discolour over time, needs extra supports |
Toughened glass roof | Premium look, durable | Heavy, expensive, professional fitting advised |
For most DIY builds, pressure-treated timber framing with polycarbonate roofing offers the best balance of cost, workability, and weather resistance. A minimum roof pitch of 5 degrees is required for reliable water run-off. Flatter than that and you will be mopping out puddles within a season.
Pro Tip: Before buying timber, check whether your supplier pressure-treats to UC3 or UC4 standard. UC4 is for ground contact, but UC3 is fine for above-ground framing and will last well with annual treatment.
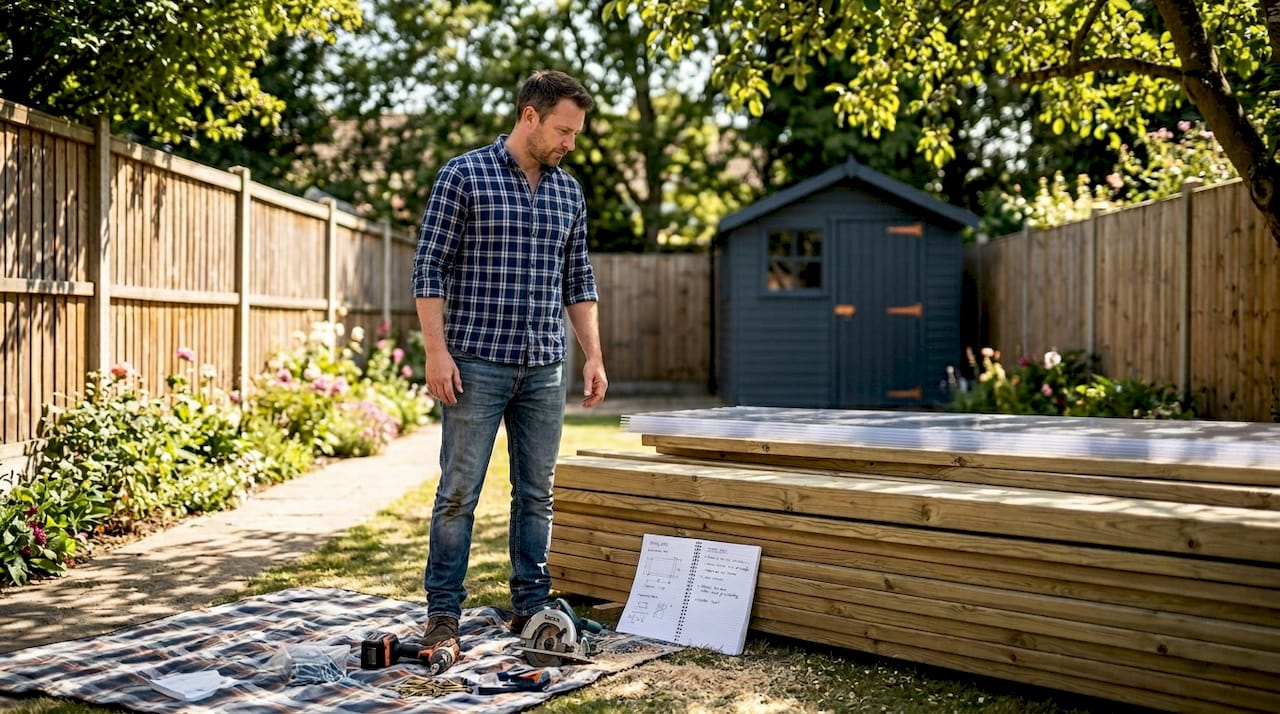
Building a veranda does not require specialist equipment. Standard DIY tools such as a circular saw, drill, spirit level, and post spanner are all you need, which keeps the project accessible for confident home improvers.
Step-by-step veranda construction
This section walks you through the core build sequence. Follow these steps in order and you will avoid the structural problems that catch out first-time builders.
Mark out the footprint. Use string lines and pegs to define the exact perimeter. Double-check your measurements against the house wall and check for square by measuring the diagonals. They should be equal.
Install post base shoes. Fix metal post shoes to the ground at each corner and at intermediate points (typically every 1.8 to 2.4 metres). Precision in levelling post shoes and using the correct fixings is the single most important factor in structural safety. Use a laser level if you have one.
Set the support posts. Cut posts to height, accounting for the roof pitch. The posts on the outer edge will be slightly shorter than those at the house wall to create the drainage slope. Stand each post in its shoe and brace temporarily before fixing permanently.
Fix the wall plate. The wall plate is the horizontal timber fixed directly to your house wall. Use a rawl bolt or equivalent masonry fixing. This carries significant load so do not skimp on fixings.
Install the main beams. Run the beams horizontally between the top of the posts and the wall plate. Check for level and square before tightening everything down.
Fit the rafters. Rafters run from the wall plate out to the front beam. Space them at 400 to 600 mm centres. Secure each one with joist hangers for a clean, strong connection.
Add intermediate roof supports. Polycarbonate panels need additional timber supports fitted evenly between rafters to prevent sagging, particularly in spans over 1.5 metres. Do not skip this step.
Attach the roof panels. Lay panels from the lower edge upward, overlapping each sheet by at least 150 mm. Use roofing screws with neoprene washers to seal each fixing point.
Apply flashing at the house junction. This is where many DIY builds fail years later. Continuous flashing tape along the full length of the wall junction is non-negotiable. Caulk alone is not sufficient and will crack and fail within a few seasons.
Inspect and adjust. Walk around the completed frame and check every fixing. Look for any wobble in posts, gaps in roofing seals, and correct drainage direction.
Pro Tip: On a windy day, have a second person hold posts while you fix the base shoes. A post that shifts even five millimetres during installation will throw your entire frame out of alignment.
Common pitfalls and veranda safety considerations
The most frequent construction errors are posts out of plumb, insufficient roof pitch, and inadequate waterproofing at the wall junction. On the safety side, always wear appropriate PPE when cutting timber or working at height, use scaffolding or a stable ladder rather than improvised platforms, and never work alone when lifting beams.
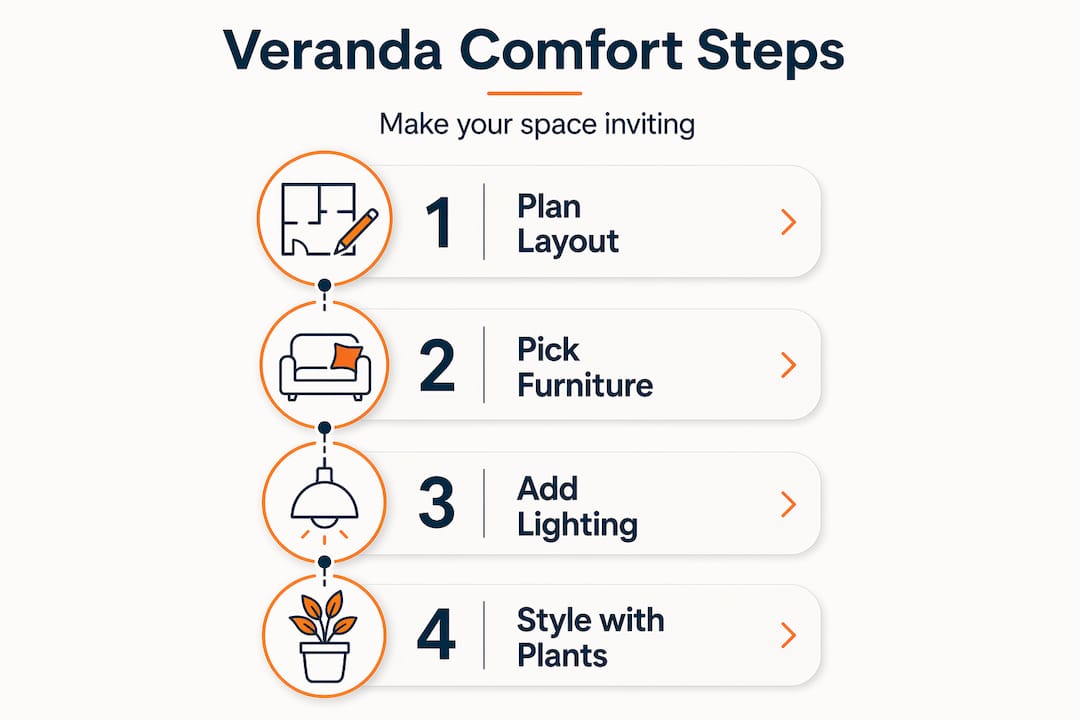
Making your veranda genuinely comfortable
A covered structure is just the start. What makes a veranda a place people actually want to spend time in is how you manage the microclimate and furnish the space.
Outdoor comfort depends far more on airflow and shade than on cushions and pot plants. Designers note that a ceiling fan on a warm evening can make a 30-degree space feel more like 24 degrees. For a UK climate, this is about managing the grey, drizzly days as much as the sunny ones.
Here are the most impactful things you can add after the structure is up:
Shade and weather barriers. A fixed veranda roof handles rain from above but side wind and driving rain call for something more. Retractable side screens or blinds let you open the space on fine days and close it when the weather turns.
Outdoor-rated furniture. Choose materials that tolerate moisture: powder-coated aluminium, teak, or synthetic rattan. Avoid untreated pine or standard MDF-based materials, which will warp or rot within a season or two outdoors.
Lighting for evening use. Layered lighting with lanterns and string lights transforms the space for evening use. If you have access to mains power, low-voltage LED strip lighting under the rafters is both practical and stylish.
Insect control. Plug-in or solar mosquito repellers work well in enclosed spaces. Planting lavender or citronella in pots nearby also helps and ties into your veranda decor inspiration naturally.
Heating for cooler months. A wall-mounted infrared heater extends usable months significantly. They warm people directly rather than heating the air, which makes them far more efficient in open or semi-open structures.
Pro Tip: Position your furniture before you fix any lighting points. Knowing where the table and seating will sit means you can place overhead lights directly above them rather than guessing and ending up with poorly lit corners.
For broader veranda layout suggestions, take a look at the top veranda style options guide from Infinityawnings, which covers everything from contemporary minimalist layouts to more traditional, enclosed garden room styles.
Keeping your veranda in good shape
Building it well is half the job. The other half is looking after it. Regular maintenance including cleaning, treating timber, and inspecting seals is what separates a veranda that lasts 20 years from one that needs rebuilding in five.
A practical seasonal checklist looks like this:
Spring: Pressure-wash the frame and decking, inspect all roof seals and flashing, check post bases for signs of rot or movement, and re-treat any bare timber with a UV-stable wood preservative.
Summer: Check roof panel fixings after any storms, clear guttering and drainage channels, and inspect fixings on any screens or blinds for wear.
Autumn: Apply a fresh coat of timber treatment before cold weather sets in. Clear fallen leaves from the roof and gutters promptly to prevent moisture build-up.
Winter: After heavy snow, gently clear any accumulation from the roof to reduce load. Inspect the wall junction flashing and check for any movement in post bases after hard frosts.
The most common problems are delaminating roof panels (caused by UV exposure), rotting post bases (from ground contact moisture), and failed wall junction seals (from thermal expansion over many winters). Catching these early means a repair rather than a replacement.
My honest take on veranda builds
I have seen a lot of veranda projects over the years, from carefully planned professional installations to enthusiastic weekend builds that ran into serious problems. The pattern is consistent: the builds that go wrong almost always cut corners on one of three things. Roof pitch, wall junction waterproofing, or permits.
The permit question feels bureaucratic and easy to skip. In my experience, skipping it is rarely worth it. It creates problems when you sell the house, and it can mean demolition orders for structures that otherwise look perfectly good. A quick call to your local planning office takes twenty minutes and gives you certainty.
What I find genuinely under-appreciated is how much the comfort features matter relative to the structure itself. I have seen beautiful, well-built verandas that nobody uses because they are too hot in July and too draughty in October. The outdoor living space setup decisions around shade, airflow, and heating are not finishing touches. They are core to whether the space gets used at all.
If I were advising a homeowner starting from scratch, I would say: spend 30% of your budget on the structure, 30% on weather management (screens, shading, heating), and 40% on how it feels to be in the space, because that last part is what determines whether it becomes your favourite room in the house.
— Andrew
Take your veranda further with Infinityawnings

Once your veranda structure is in place, the right shading and weather protection products make an enormous difference to how much you use it. Infinityawnings has over 15 years of experience helping homeowners across Yorkshire, Derbyshire, Nottinghamshire, and Lincolnshire get the most from their outdoor spaces. Whether you are looking for a premium pergola to complement your new veranda or retractable screening to manage wind and rain, the team can advise on the best solution for your space and budget. Explore the range of stunning pergola options to see what is possible, or get in touch for a free, no-obligation quote tailored to your outdoor space.
FAQ
Do I need planning permission to build a veranda in the UK?
In most cases, small and open verandas fall under permitted development and do not need planning permission. However, larger, enclosed, or elevated structures may require a permit, so always confirm with your local planning authority before starting.
What is the minimum roof pitch for a veranda?
A veranda roof needs a minimum pitch of 5 degrees to allow rainwater to drain properly. Any less and water will pool on the panels and find its way through even well-sealed joints.
How do I stop a veranda roof from leaking at the wall?
Caulk alone is not reliable long-term. Use continuous flashing tape along the full length of the wall junction to create a proper moisture barrier. This is the single most important waterproofing step in the entire build.
What materials work best for DIY veranda construction?
Pressure-treated softwood for the frame and polycarbonate panels for the roof offer the best balance of cost, workability, and weather resistance for most DIY builders. Standard workshop tools are all that is needed, making it an achievable project for confident home improvers.
How often should I maintain my veranda?
A seasonal inspection and treatment programme is the most effective approach. Check roof seals and treat timber each spring, inspect fixings after summer storms, re-apply treatment in autumn, and monitor post bases and snow loading through winter for lasting outdoor durability.
Recommended
Comments